Categories
Categories keep your project list from turning into a pile. They group like projects together in the left menu. Watch the video or follow the steps below.
Get involved: Subscribe · Discord · Twitter/X · Matt on X
1. Categories in settings
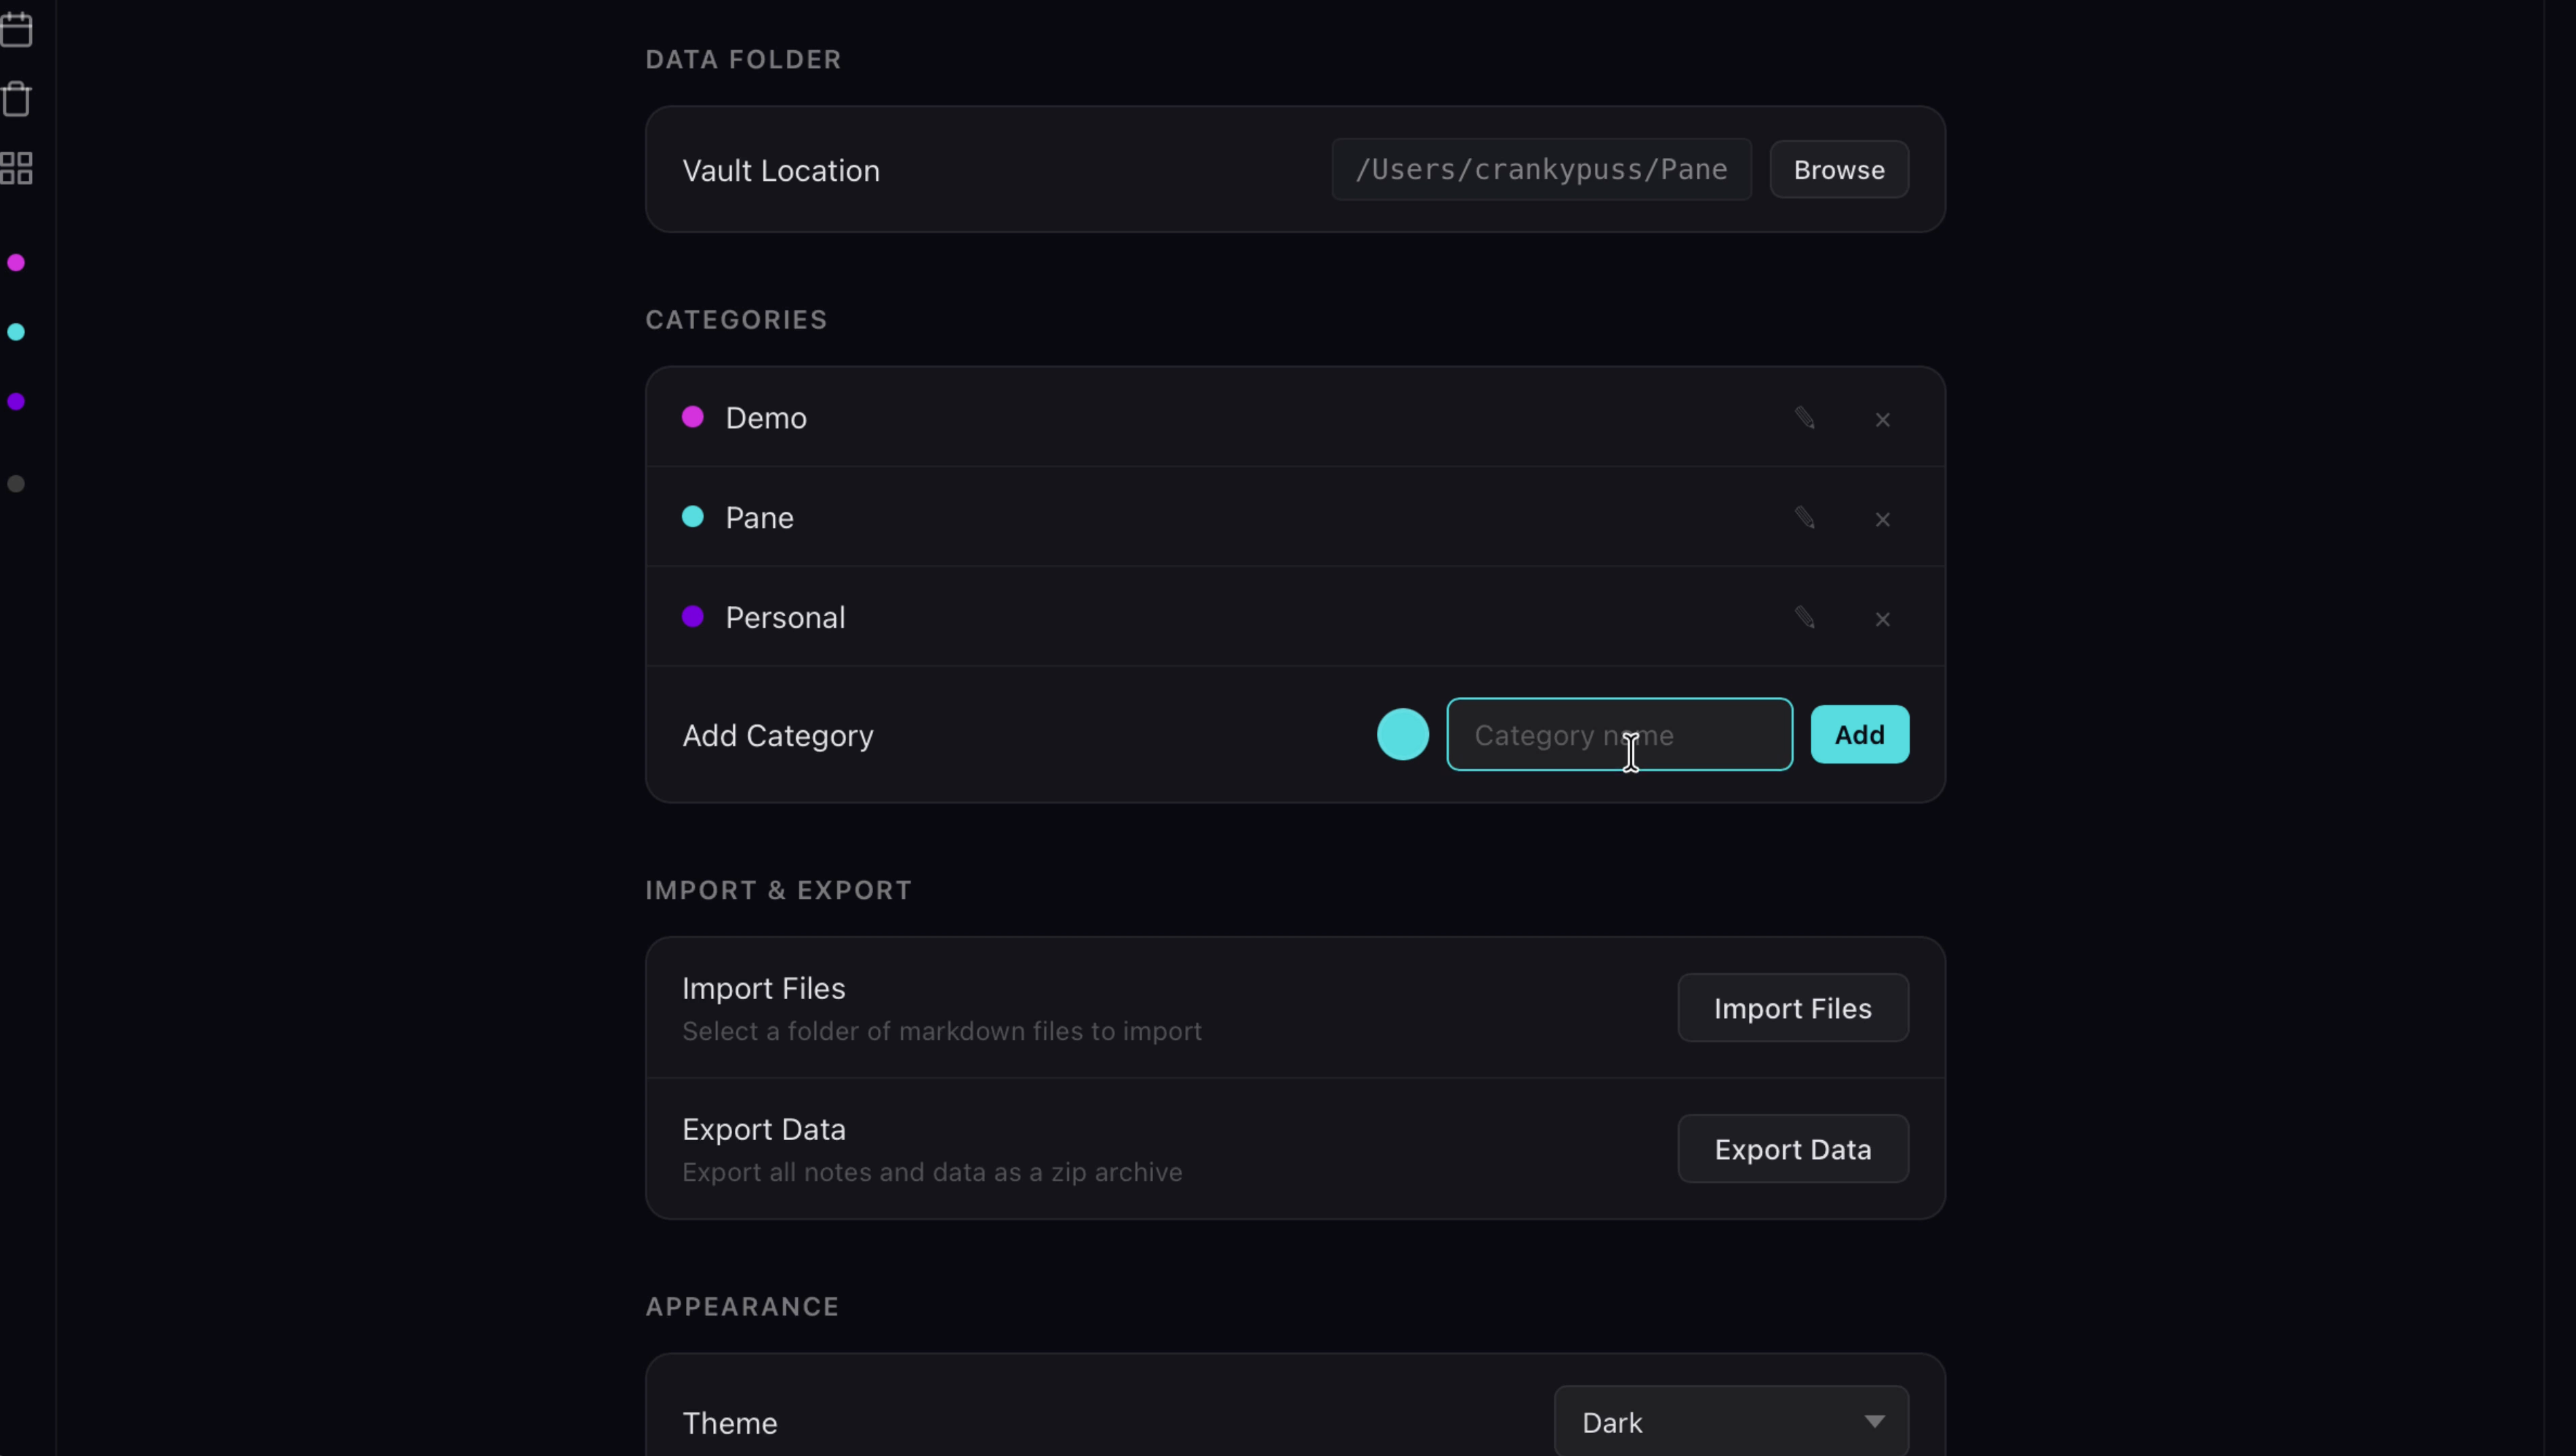
Categories keep your project list from turning into a pile. They group like projects together in the left menu.
2. Create a category
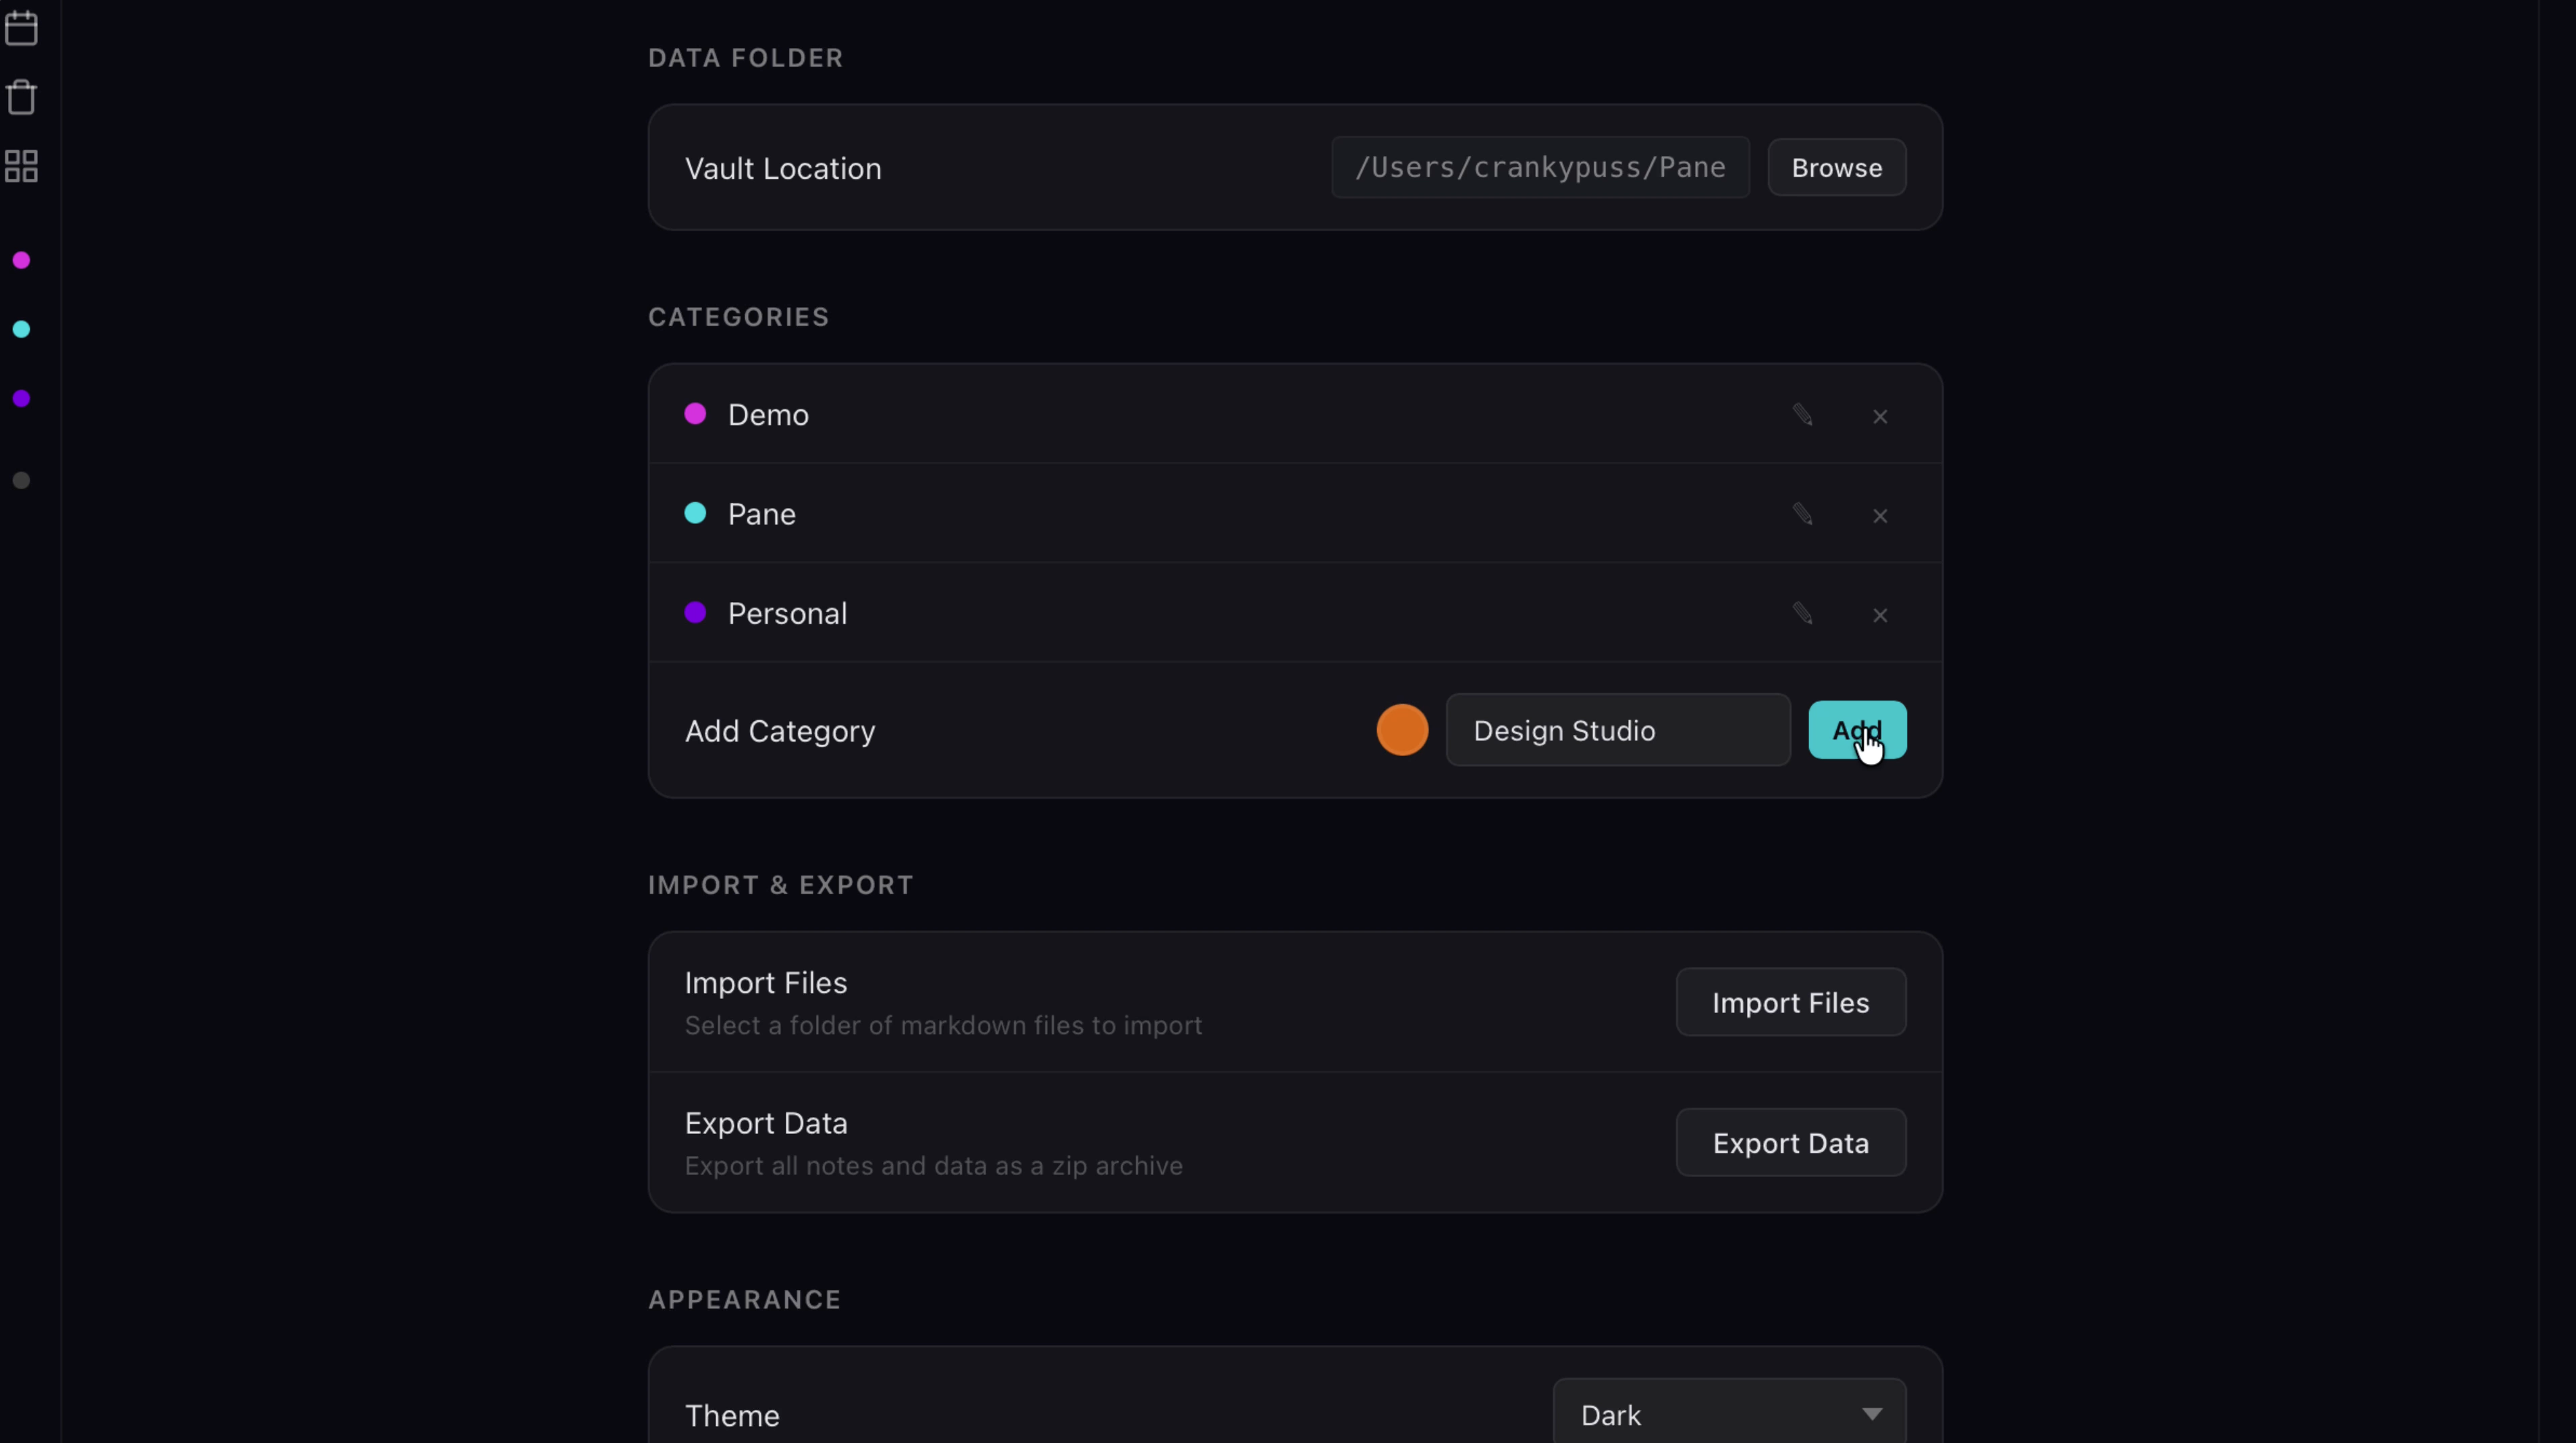
Make one in the General tab in Settings. Name it, pick a color, hit Add.
3. Assign a project
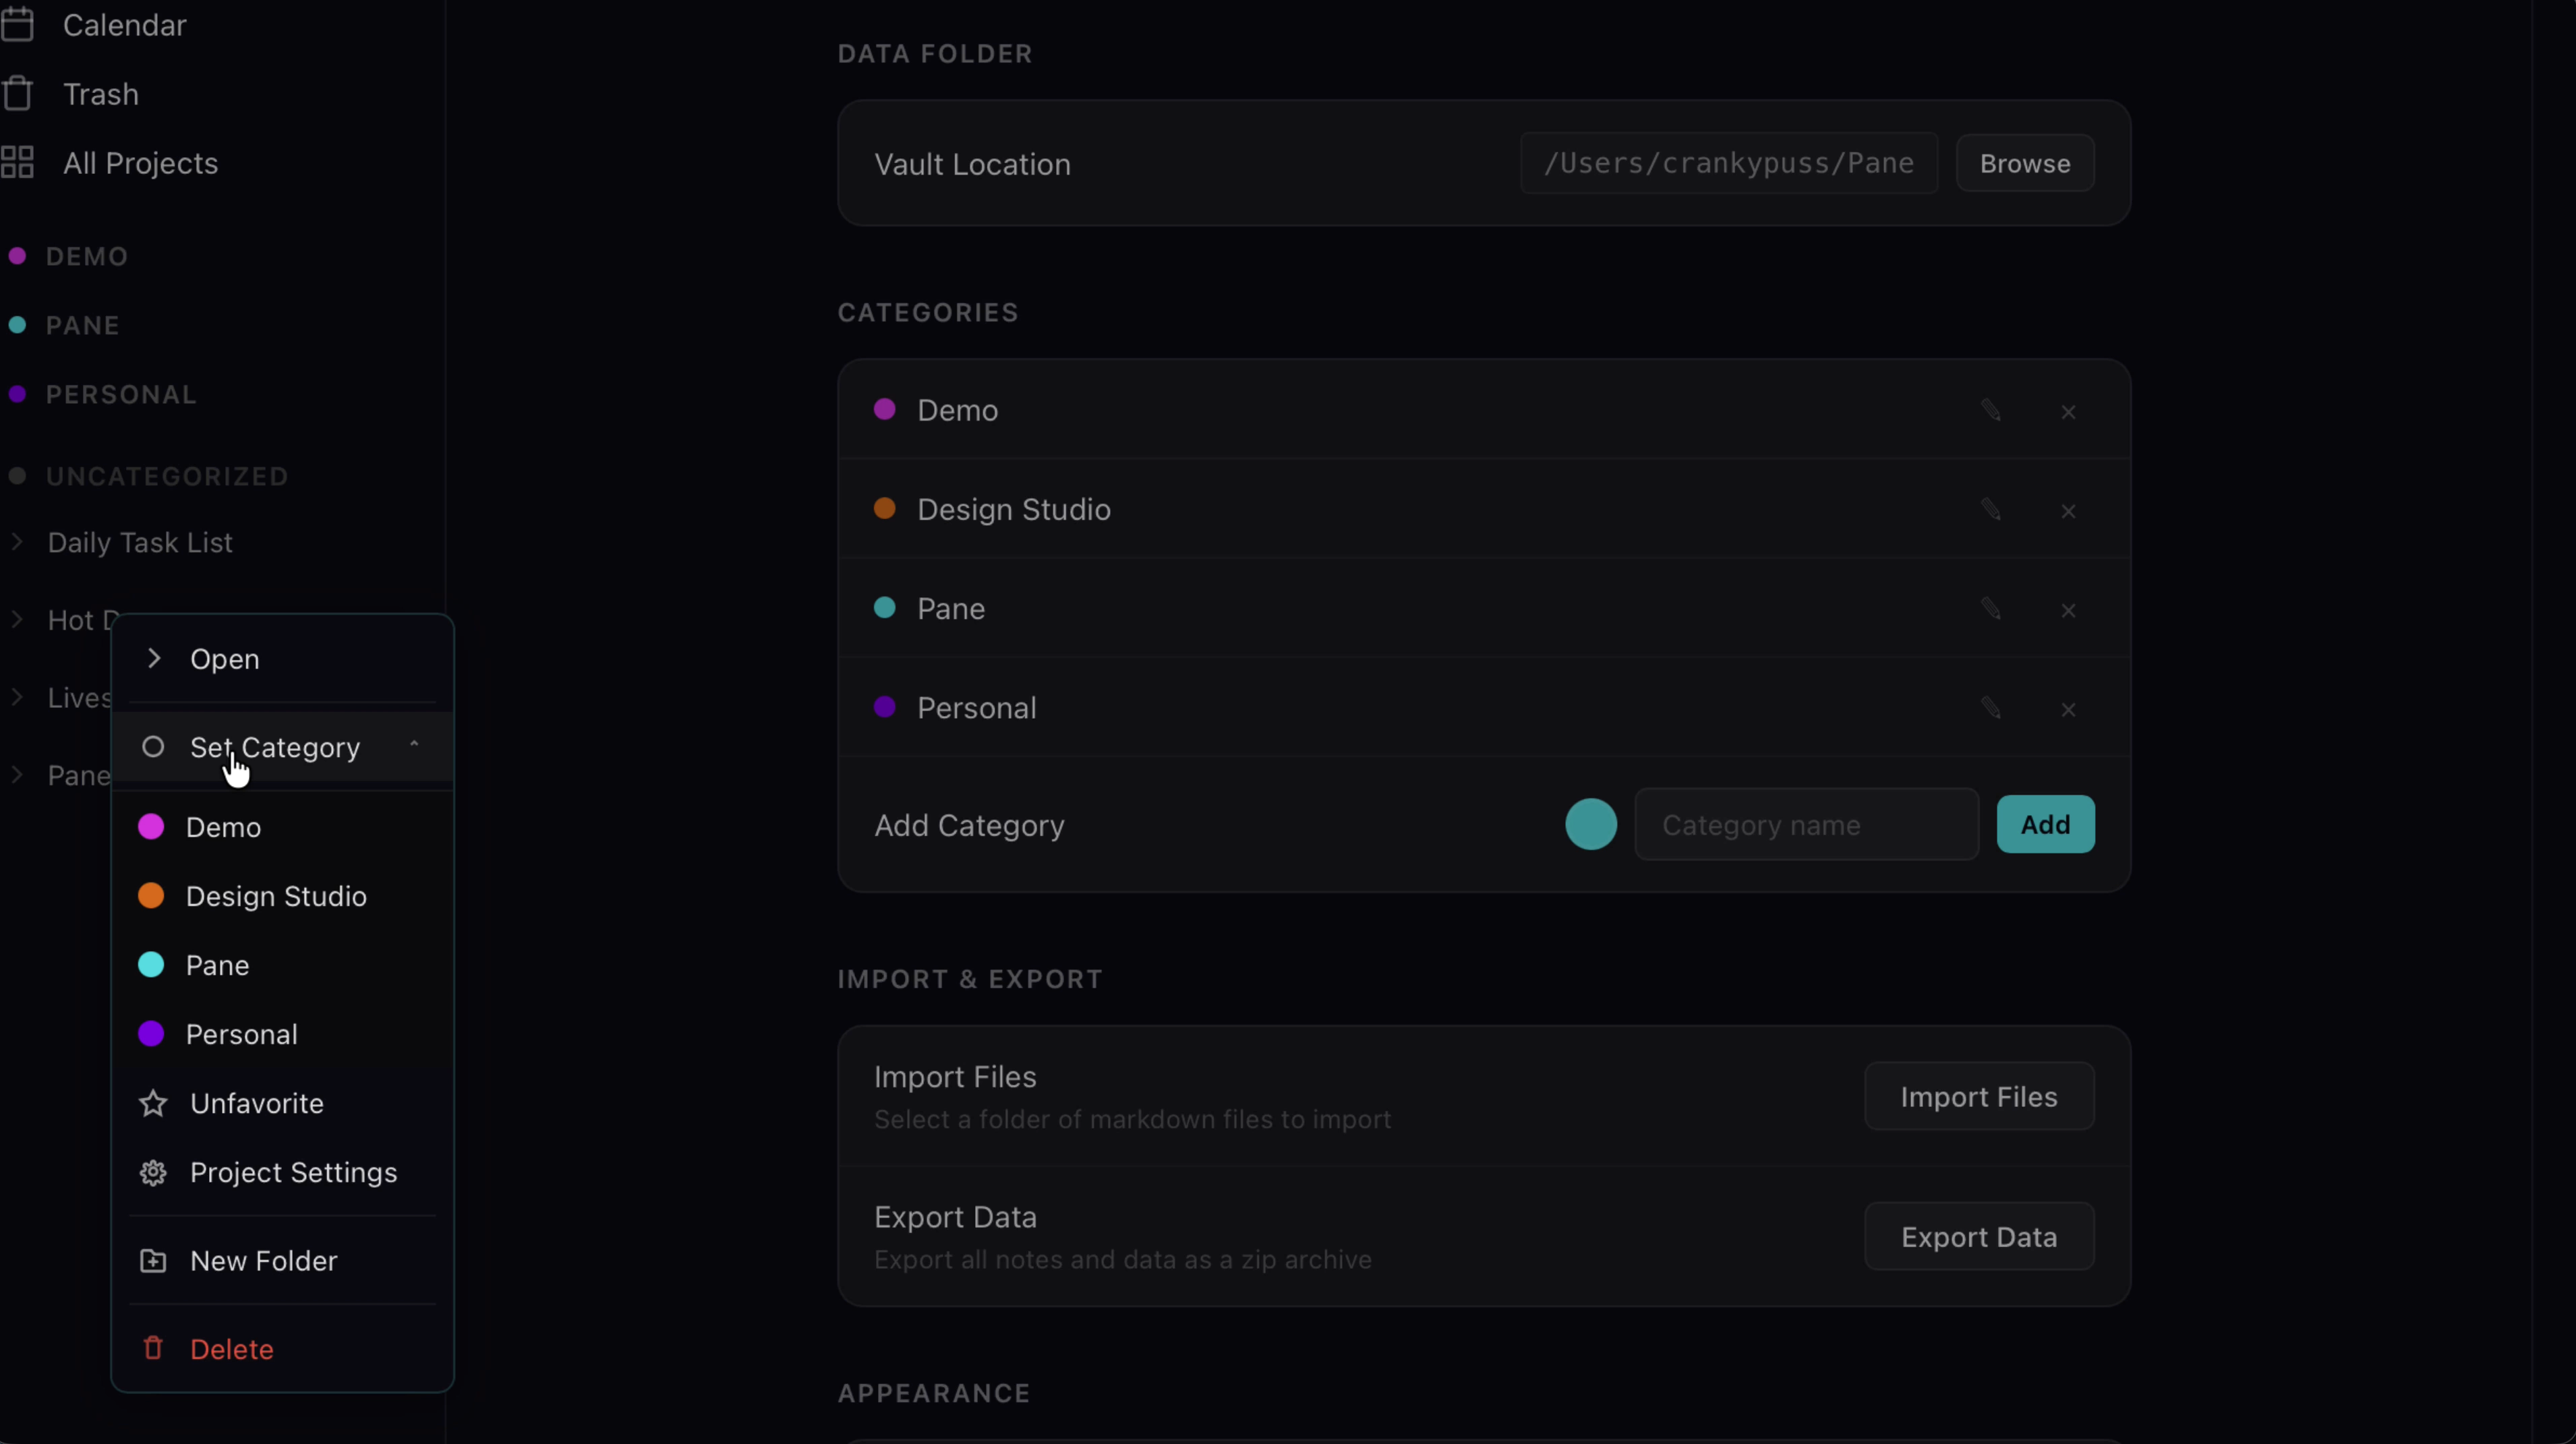
Then right-click any project, Set Category, done.
4. Uncategorized
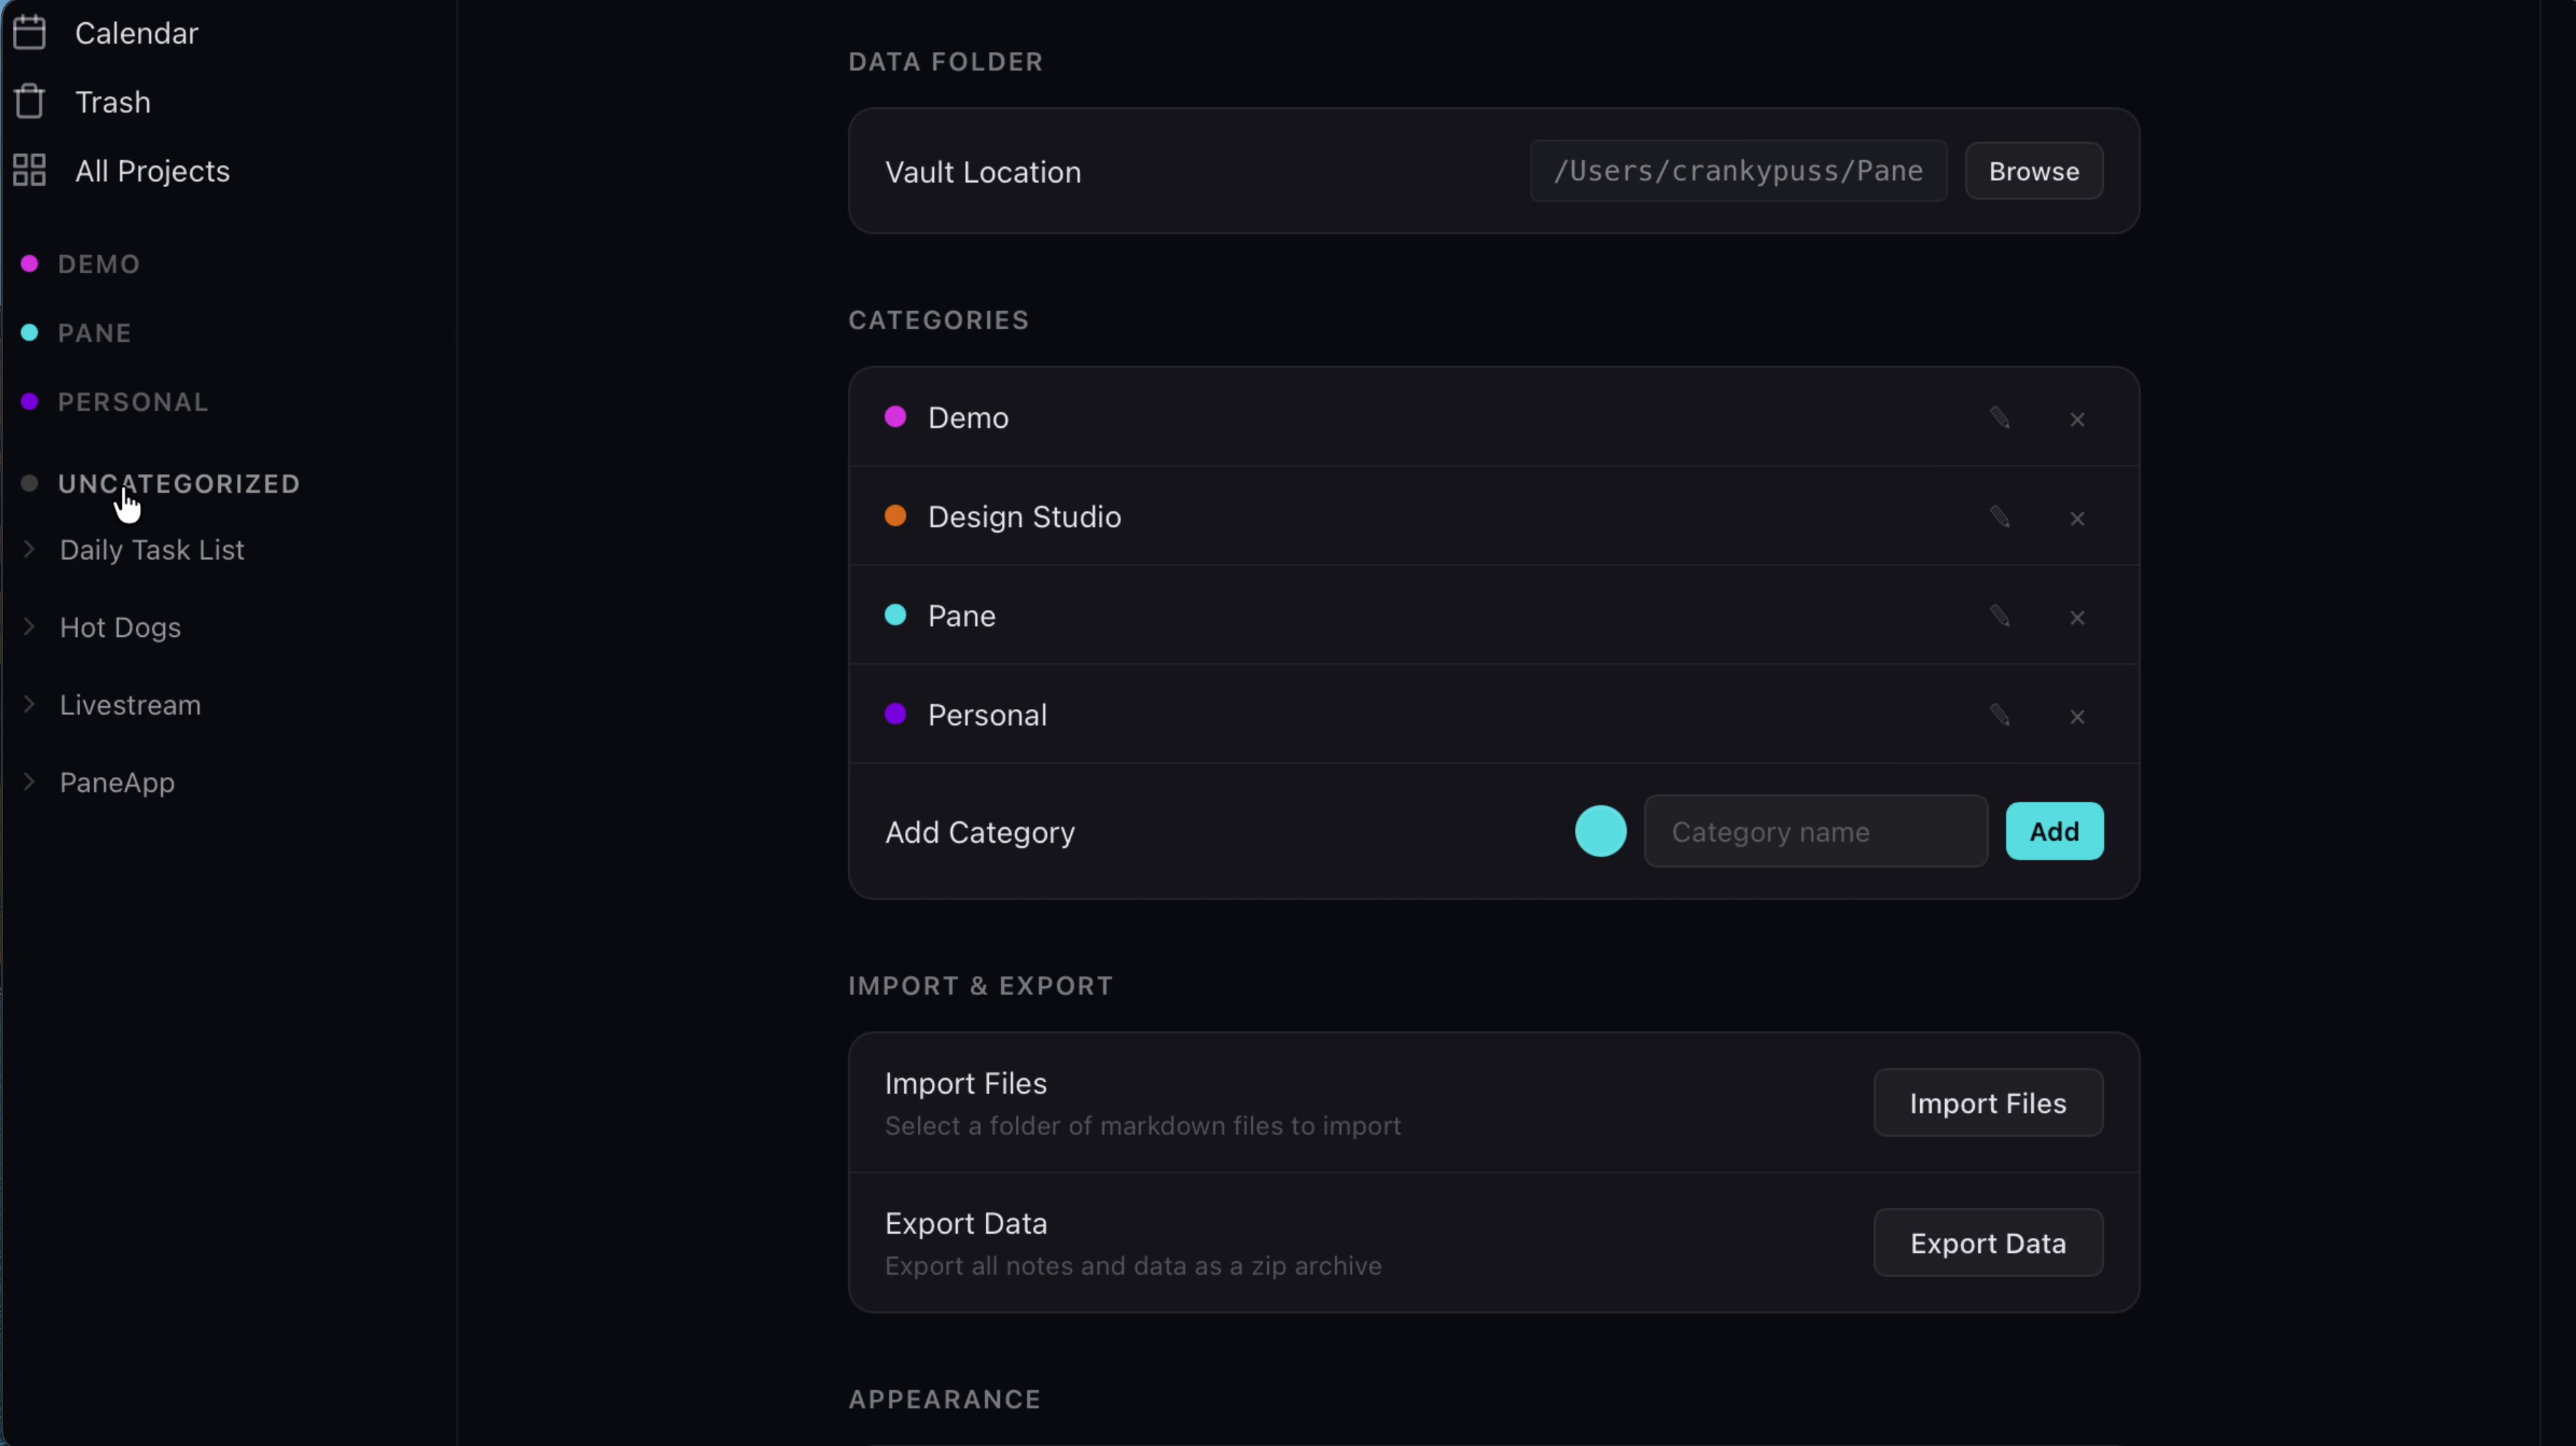
Once you have one category, Pane automatically adds an Uncategorized group to catch everything else.
5. A clean menu
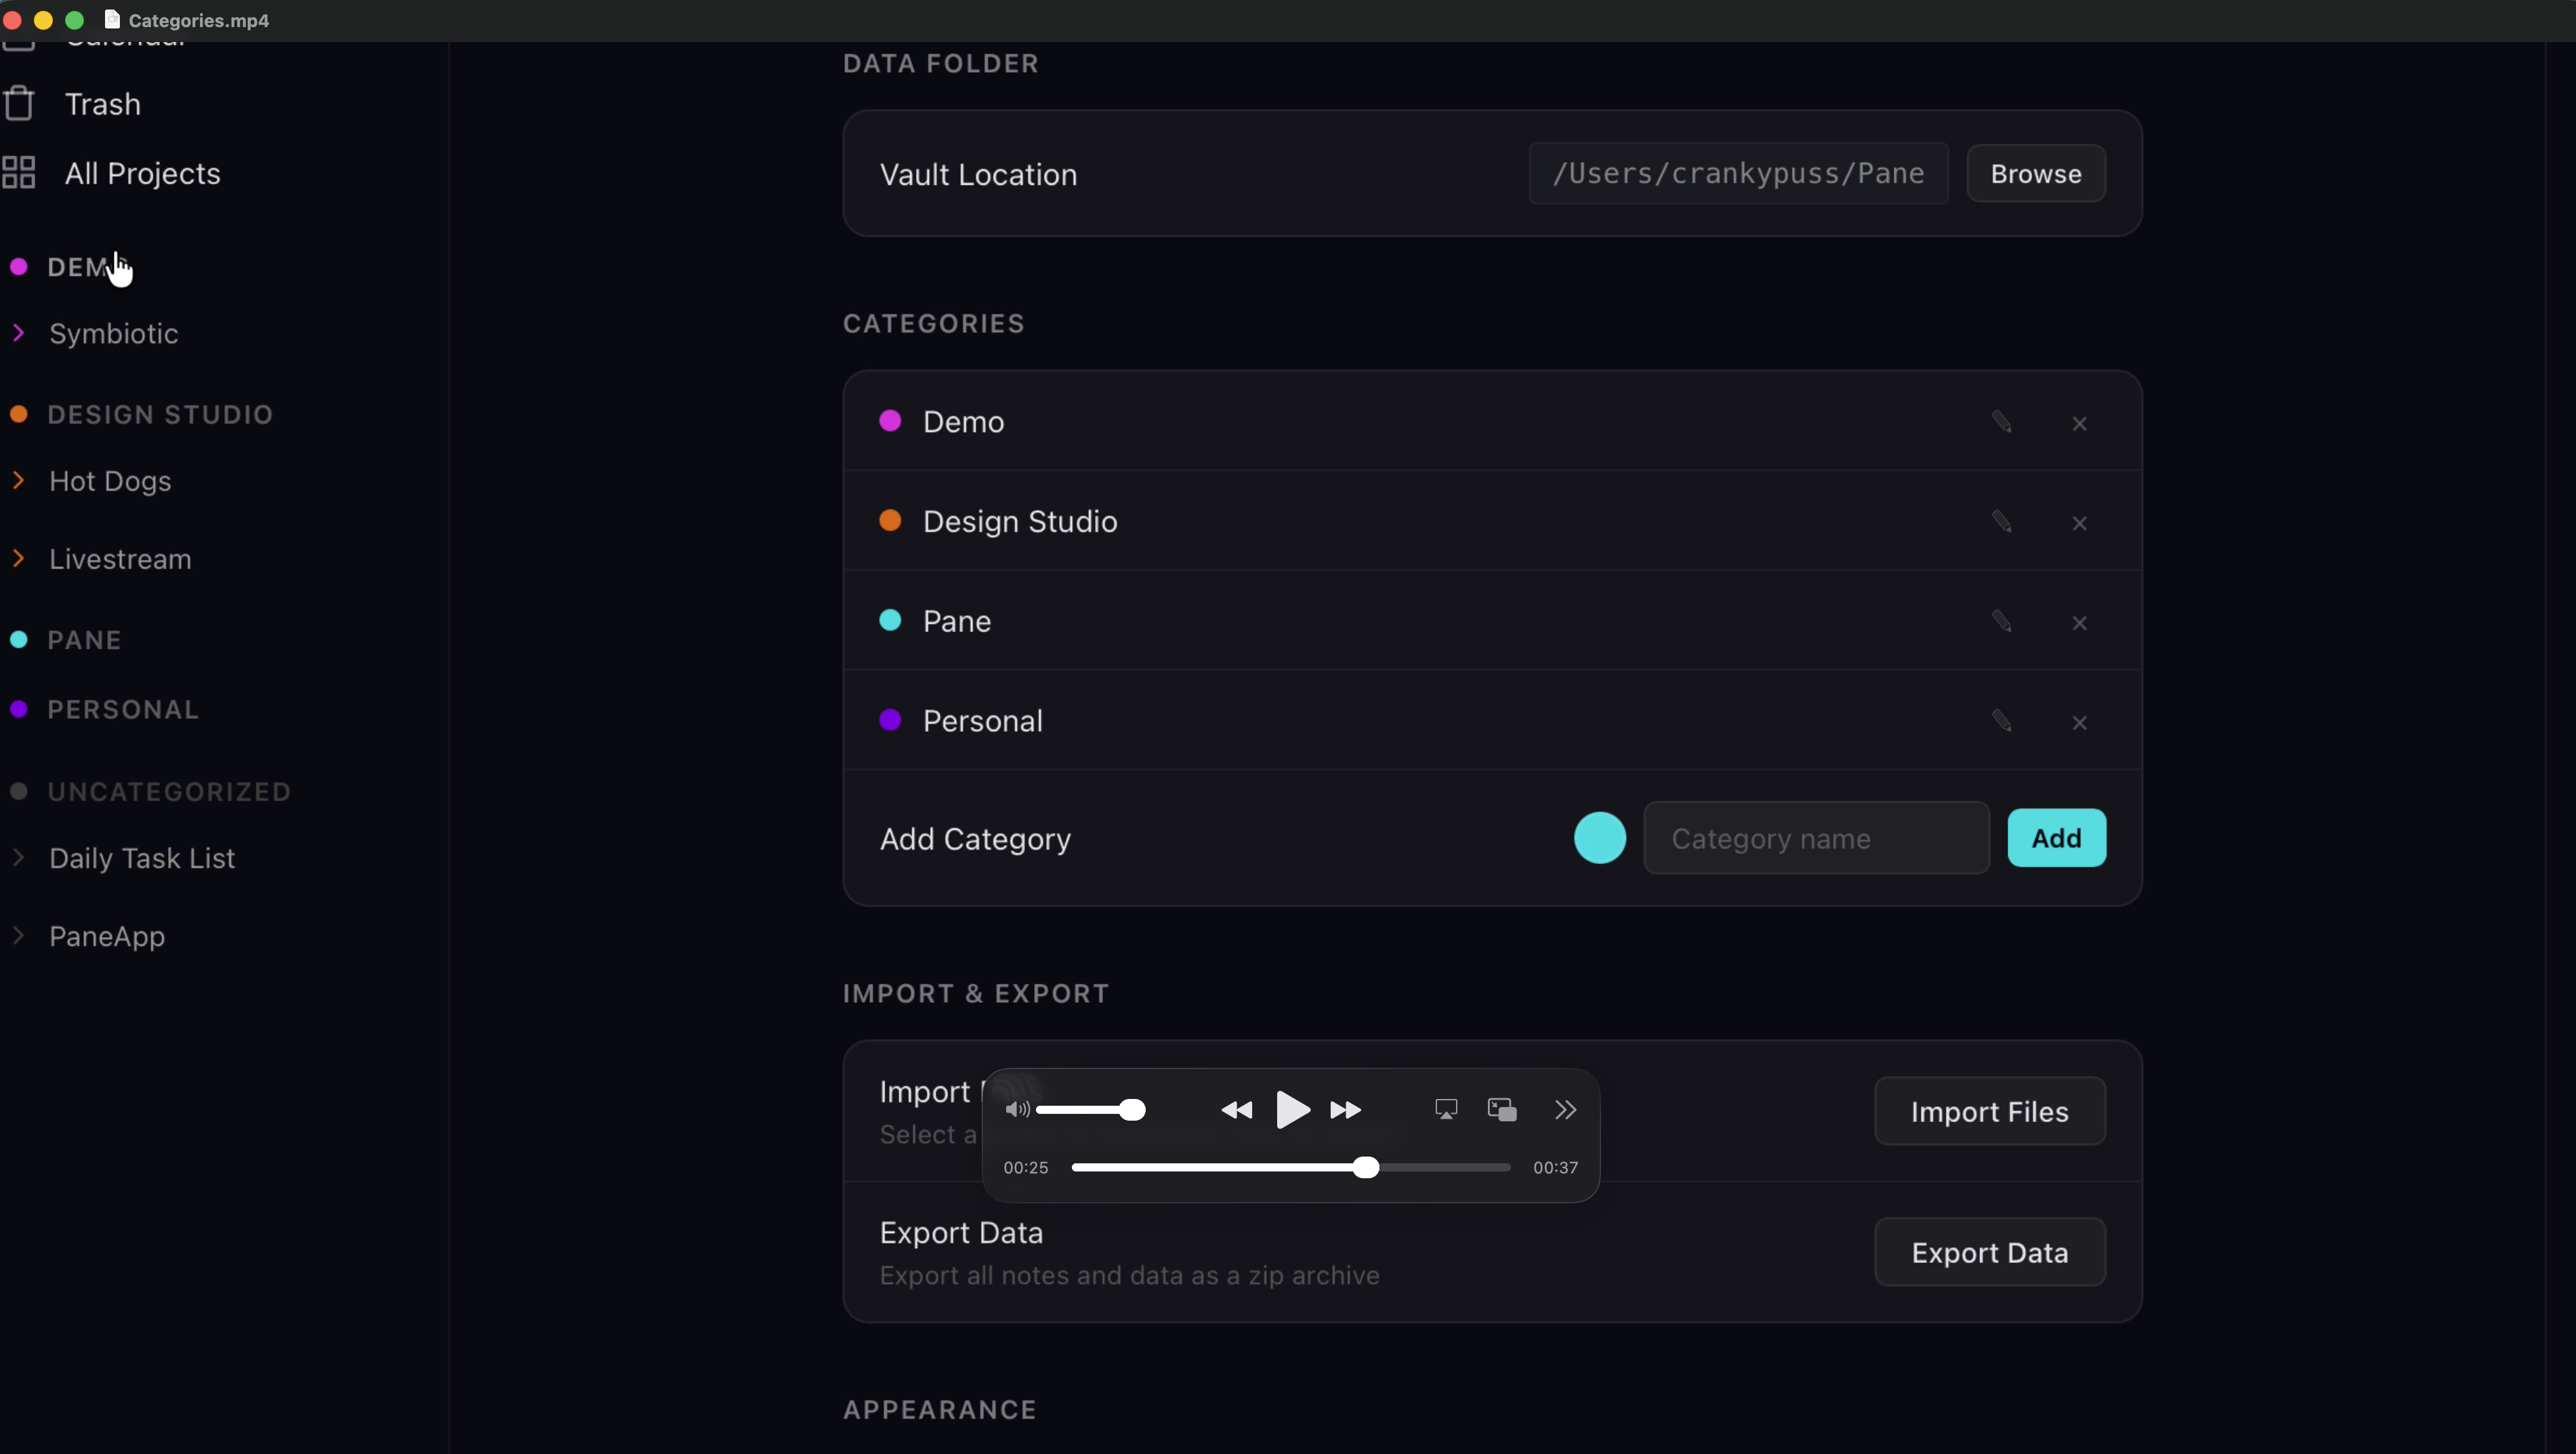
The payoff is a clean menu. Client work in one group, personal in another.
6. Collapse to stay calm
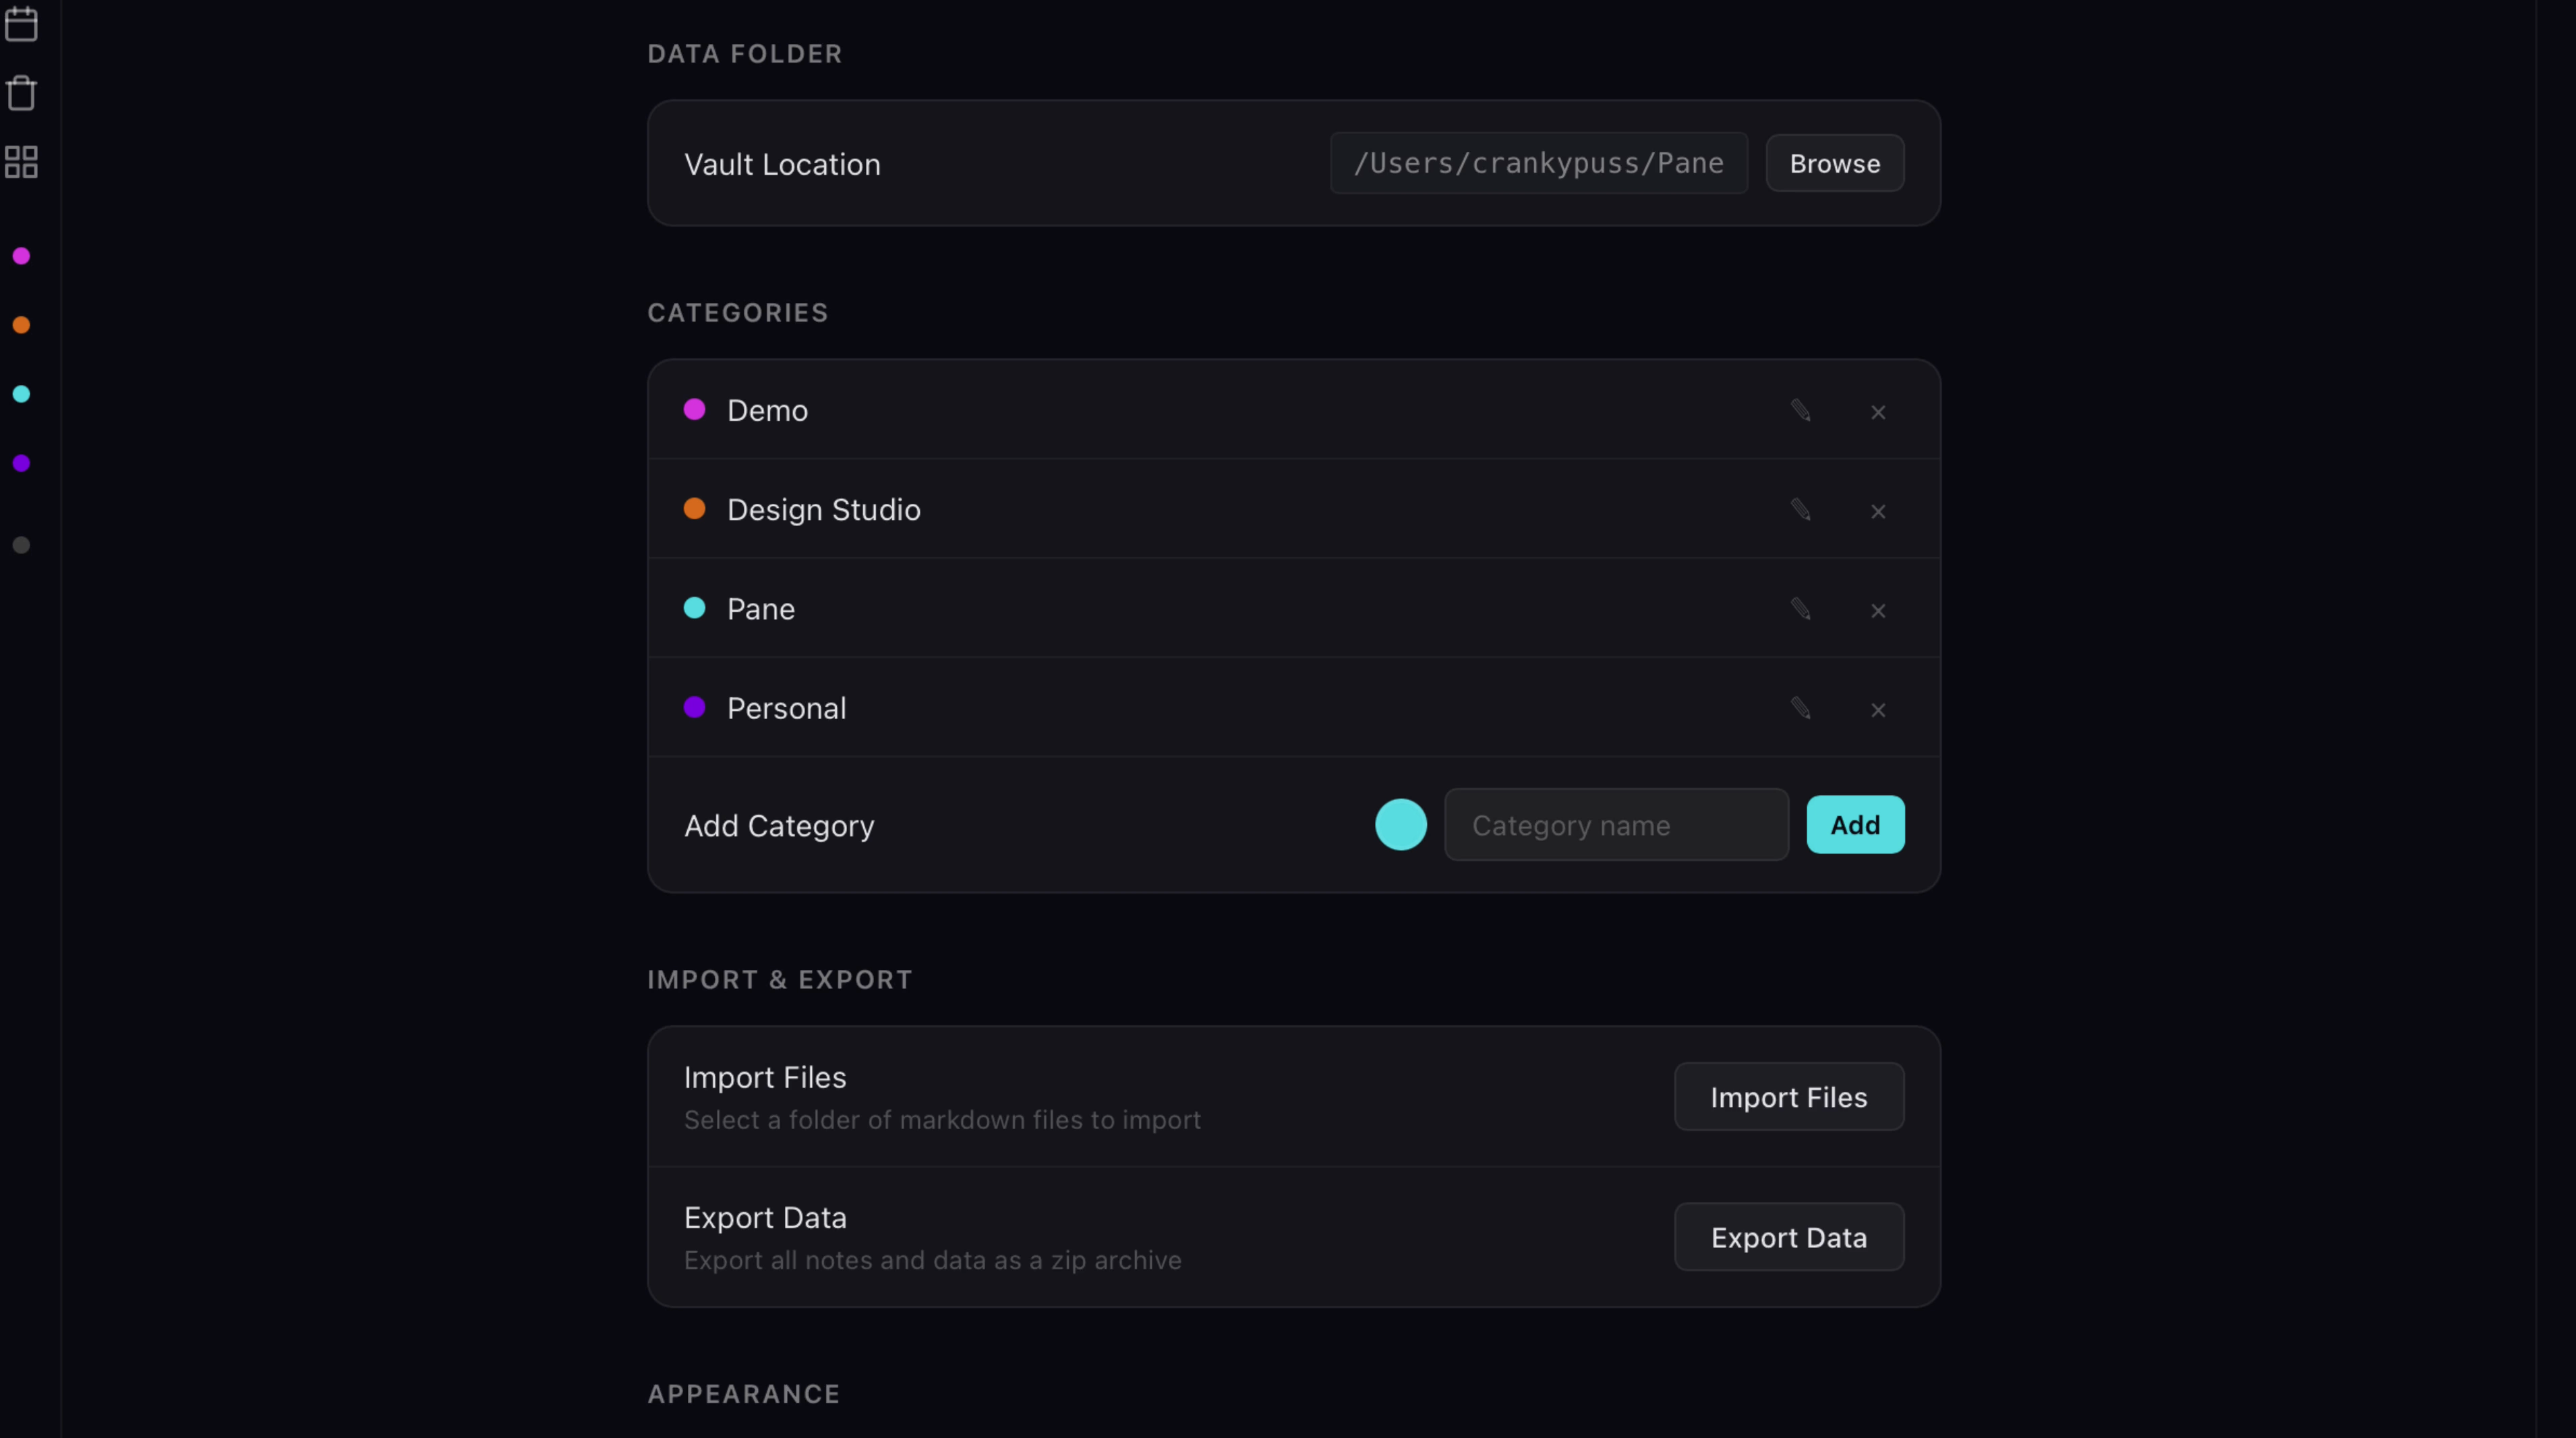
Click a category and it collapses, everything inside tucks away. Ten projects become three headers. When your projects multiply, and they will, your sidebar stays calm.