Onboard With OpenRouter
Pane is an AI-native workspace where your notes, tasks, and conversations live together — powered by an AI partner that actually knows you. It remembers your projects, learns your preferences, and gets better the more you use it. This guide covers connecting Pane to OpenRouter, which gives you access to multiple AI models from a single API key — everything from Claude to GPT to open-source models.
Get involved: Subscribe · Discord · Twitter/X · Matt on X
1. Sign in
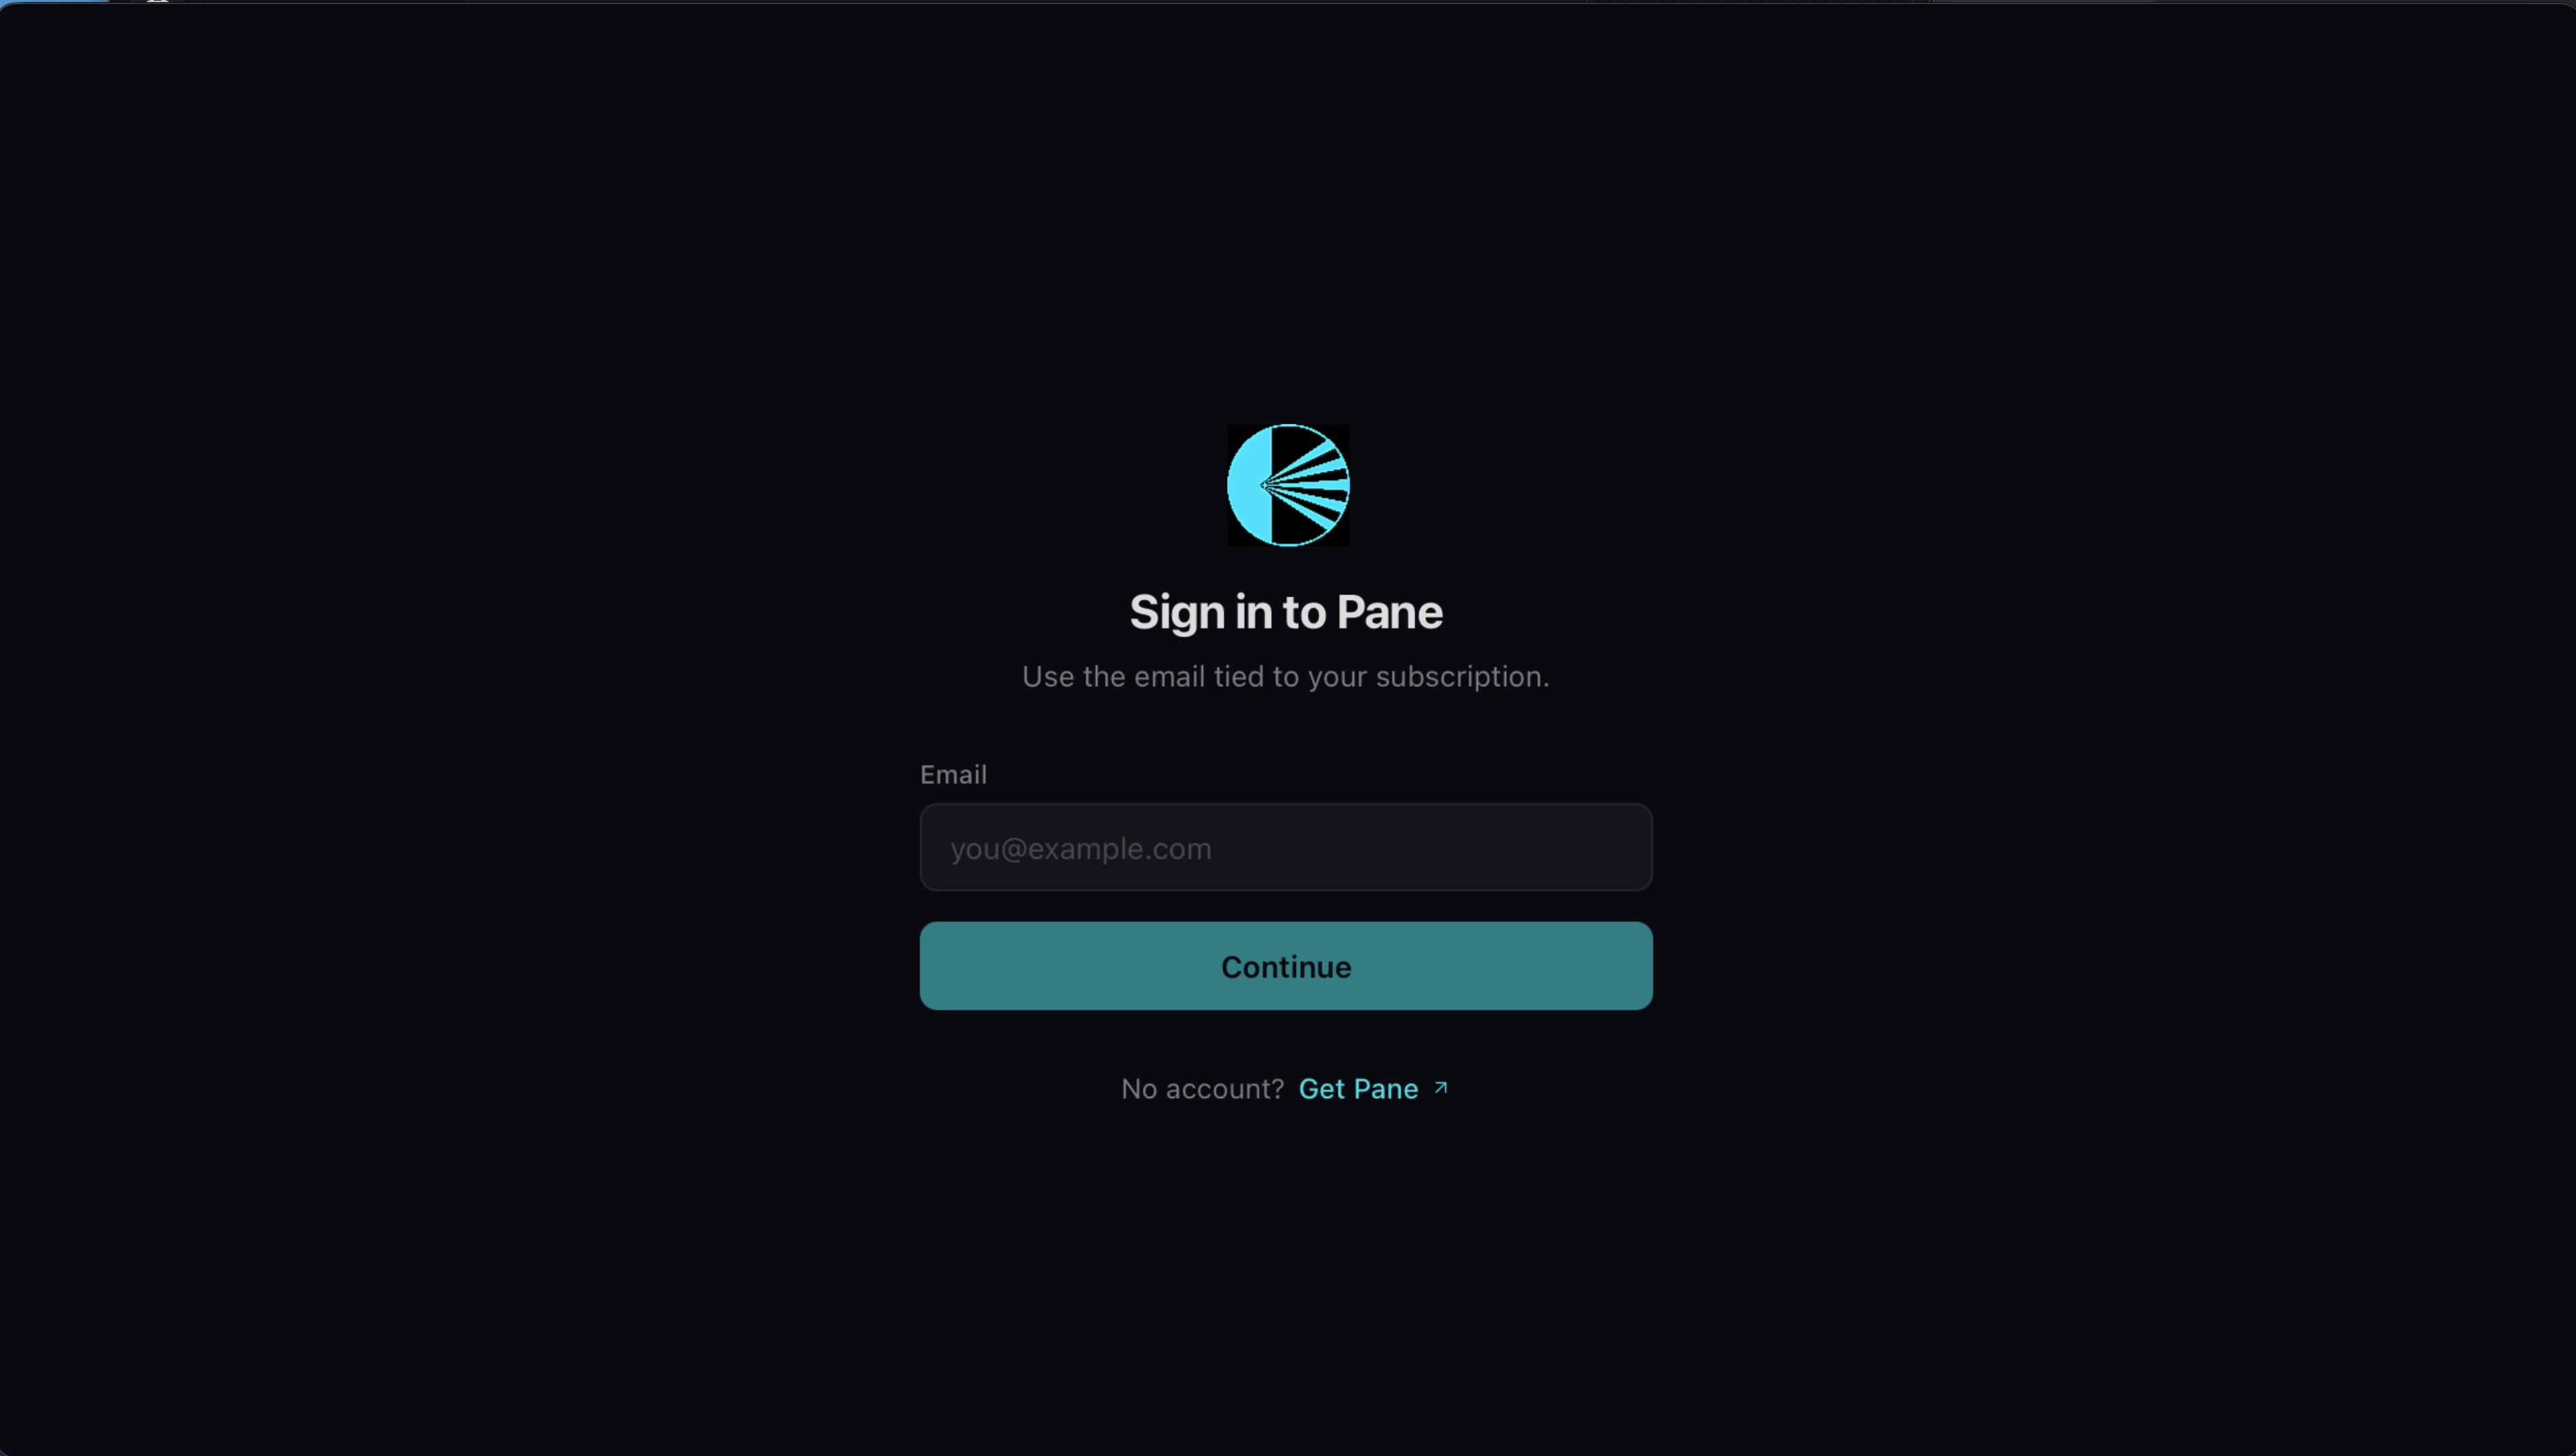
Open Pane and enter the email and password you set up when you subscribed on paneapp.ai.
2. Choose your AI provider
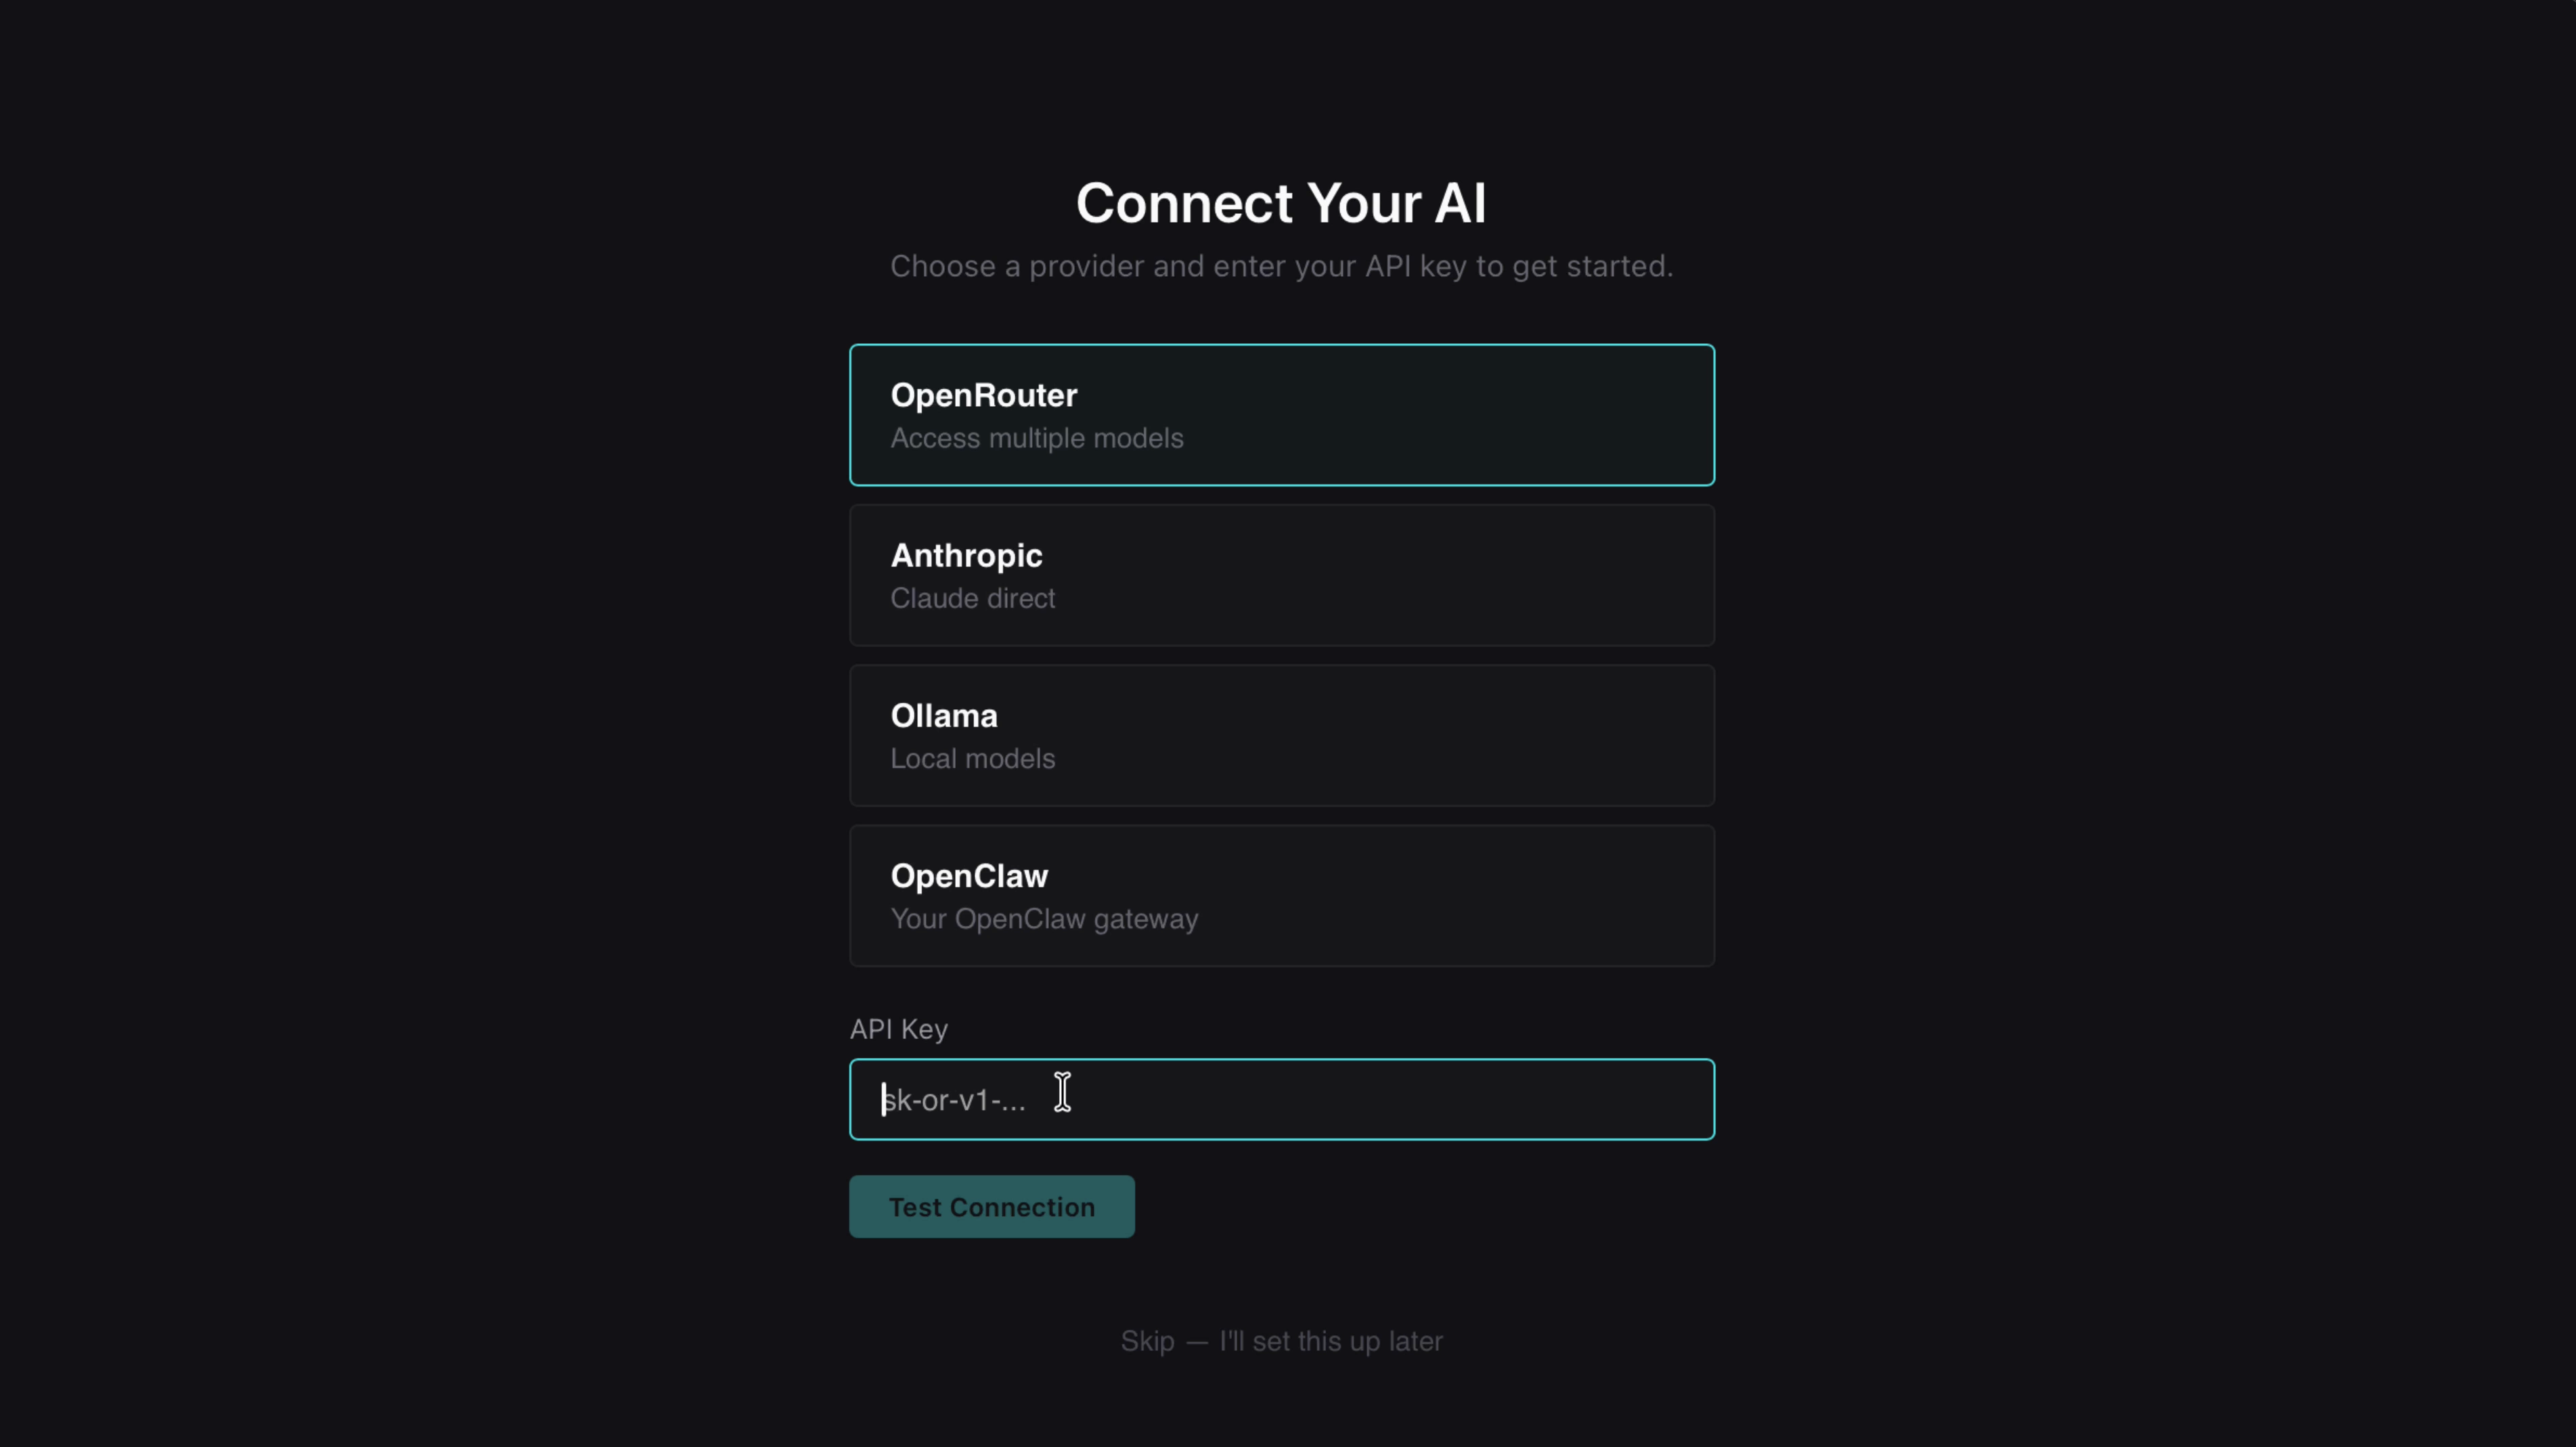
On the Connect Your AI screen, select OpenRouter if it's not already highlighted. OpenRouter gives you access to multiple AI models from a single API key — everything from Claude to GPT to open-source models.
You'll also see options for Anthropic (Claude direct), Ollama (local models), and OpenClaw (your own gateway). For this tutorial, we're going with OpenRouter.
3. Connect your API key
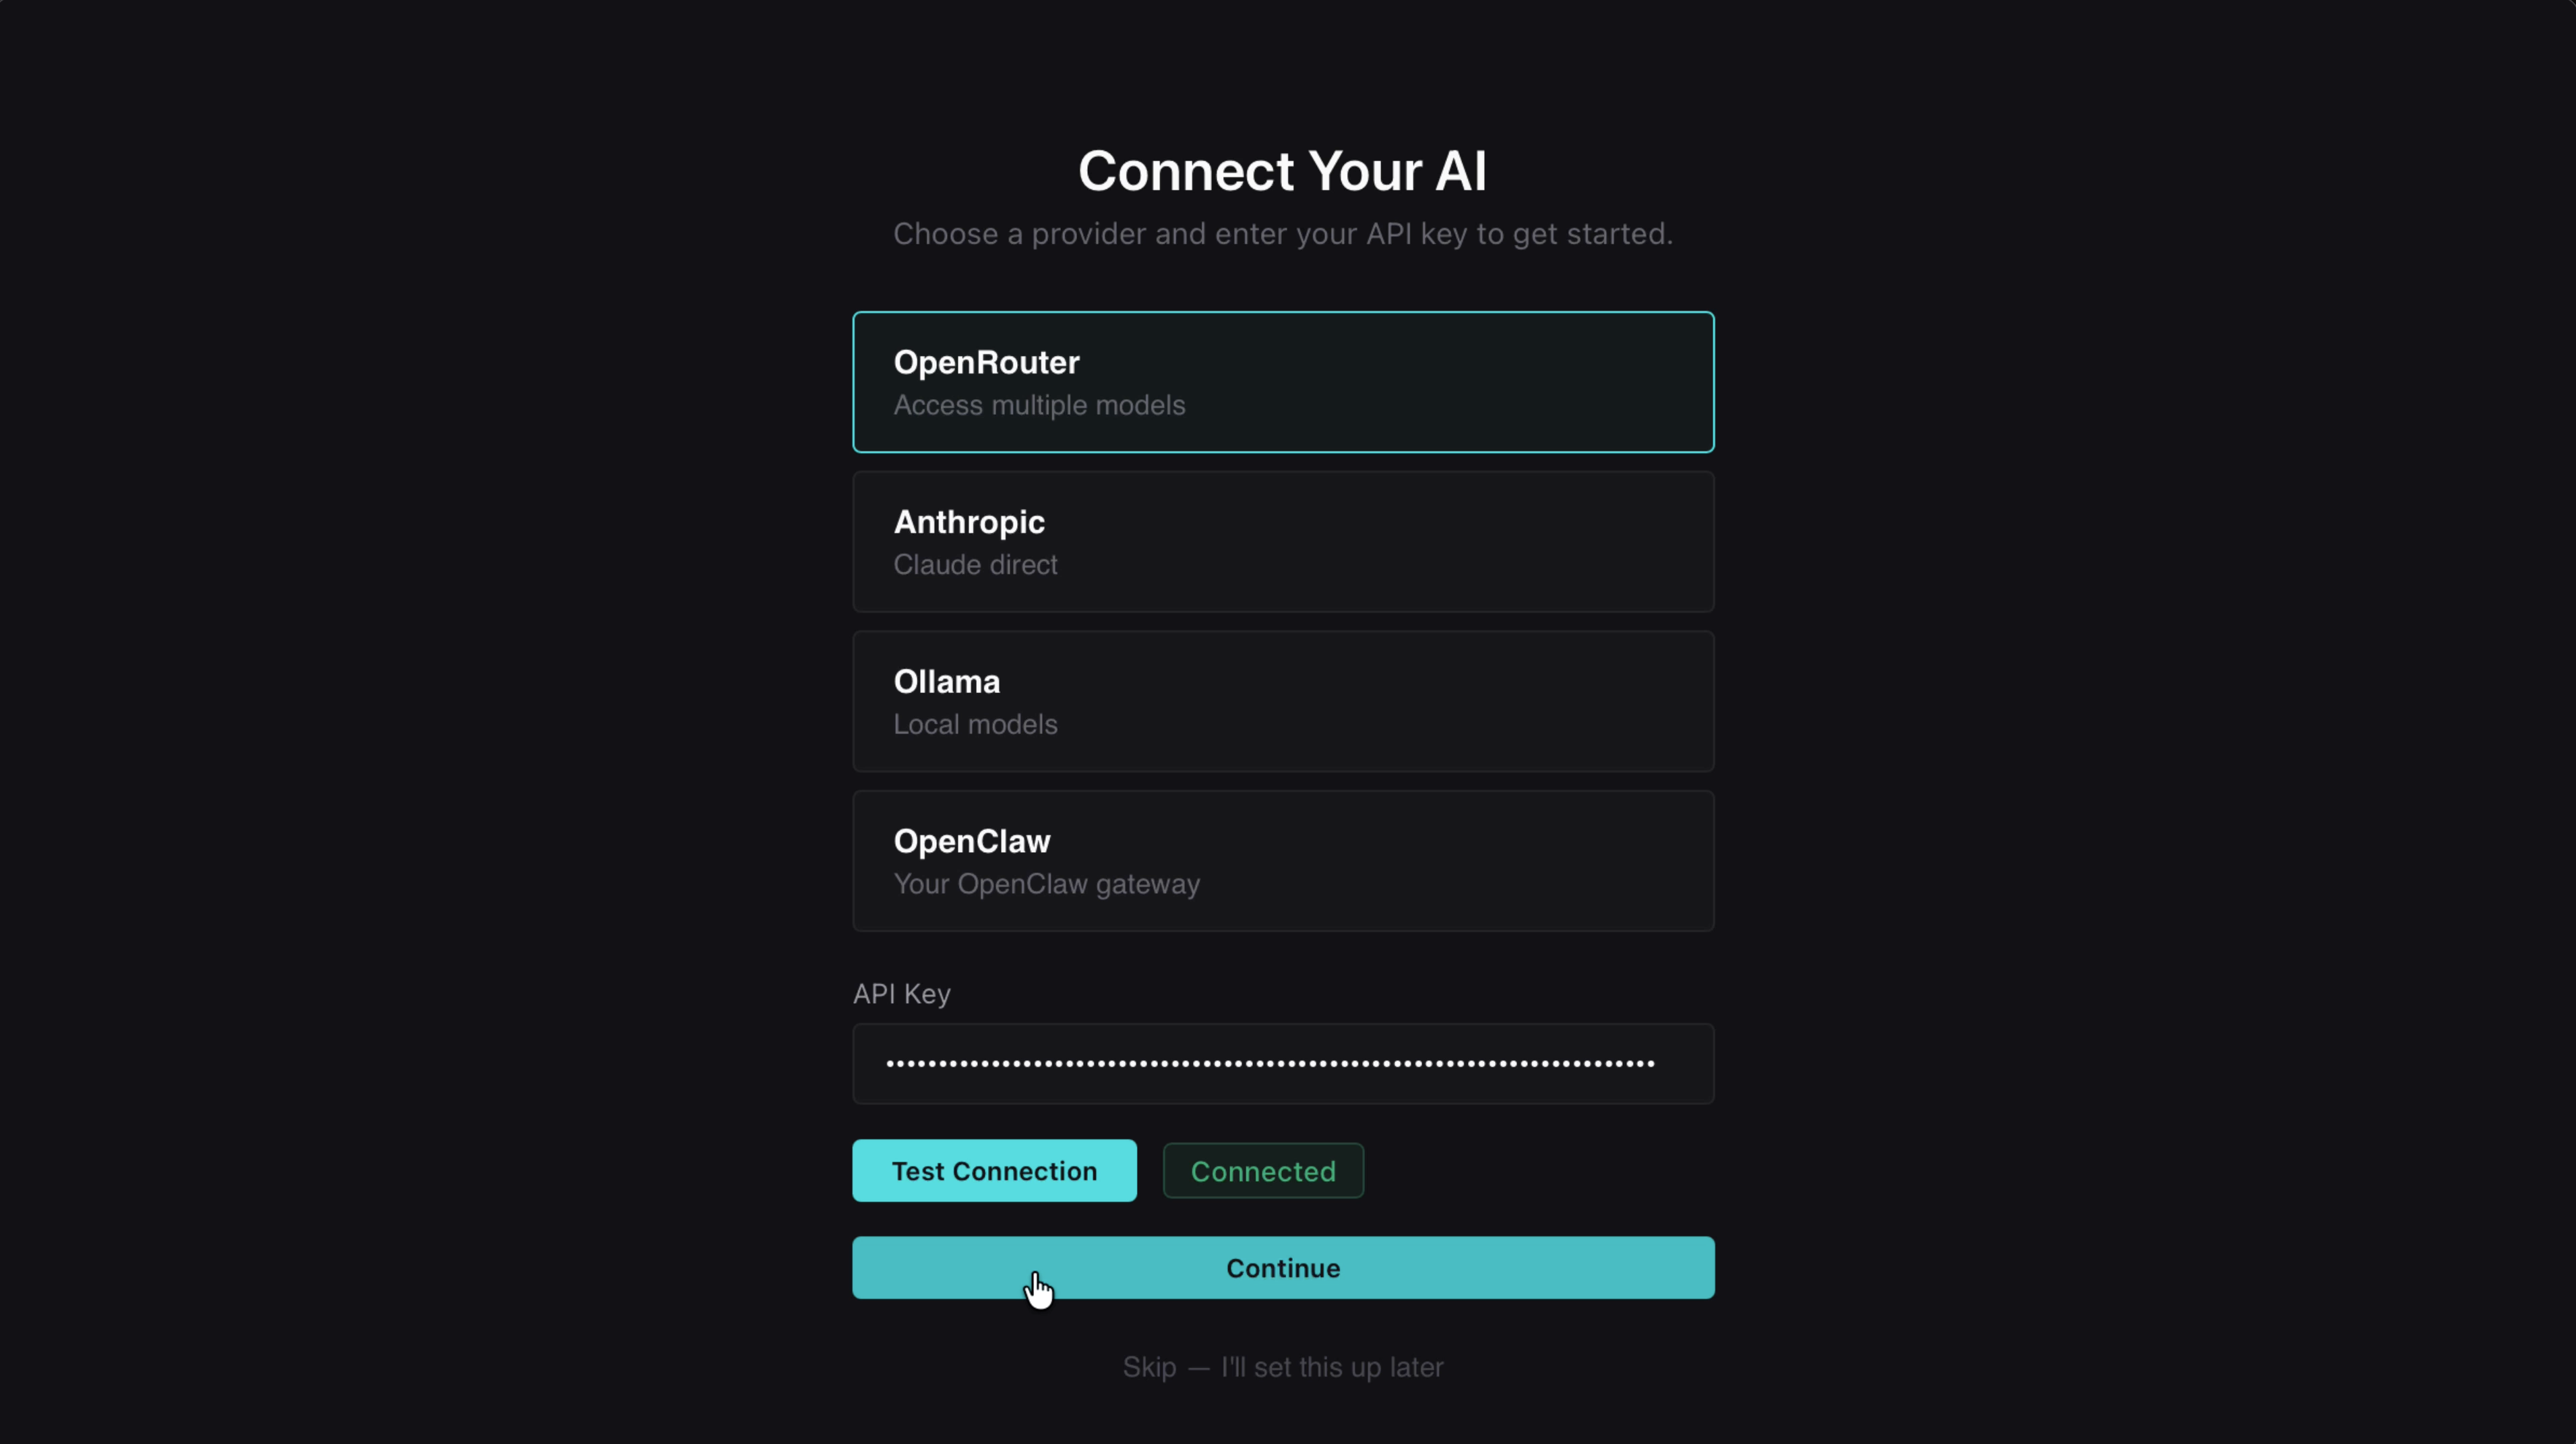
Paste your OpenRouter API key into the field and click Test Connection. If you entered it correctly, you'll see "Connected" in green. Hit Continue.
Don't have a key yet? Head to openrouter.ai/keys to create one.
4. Choose your model
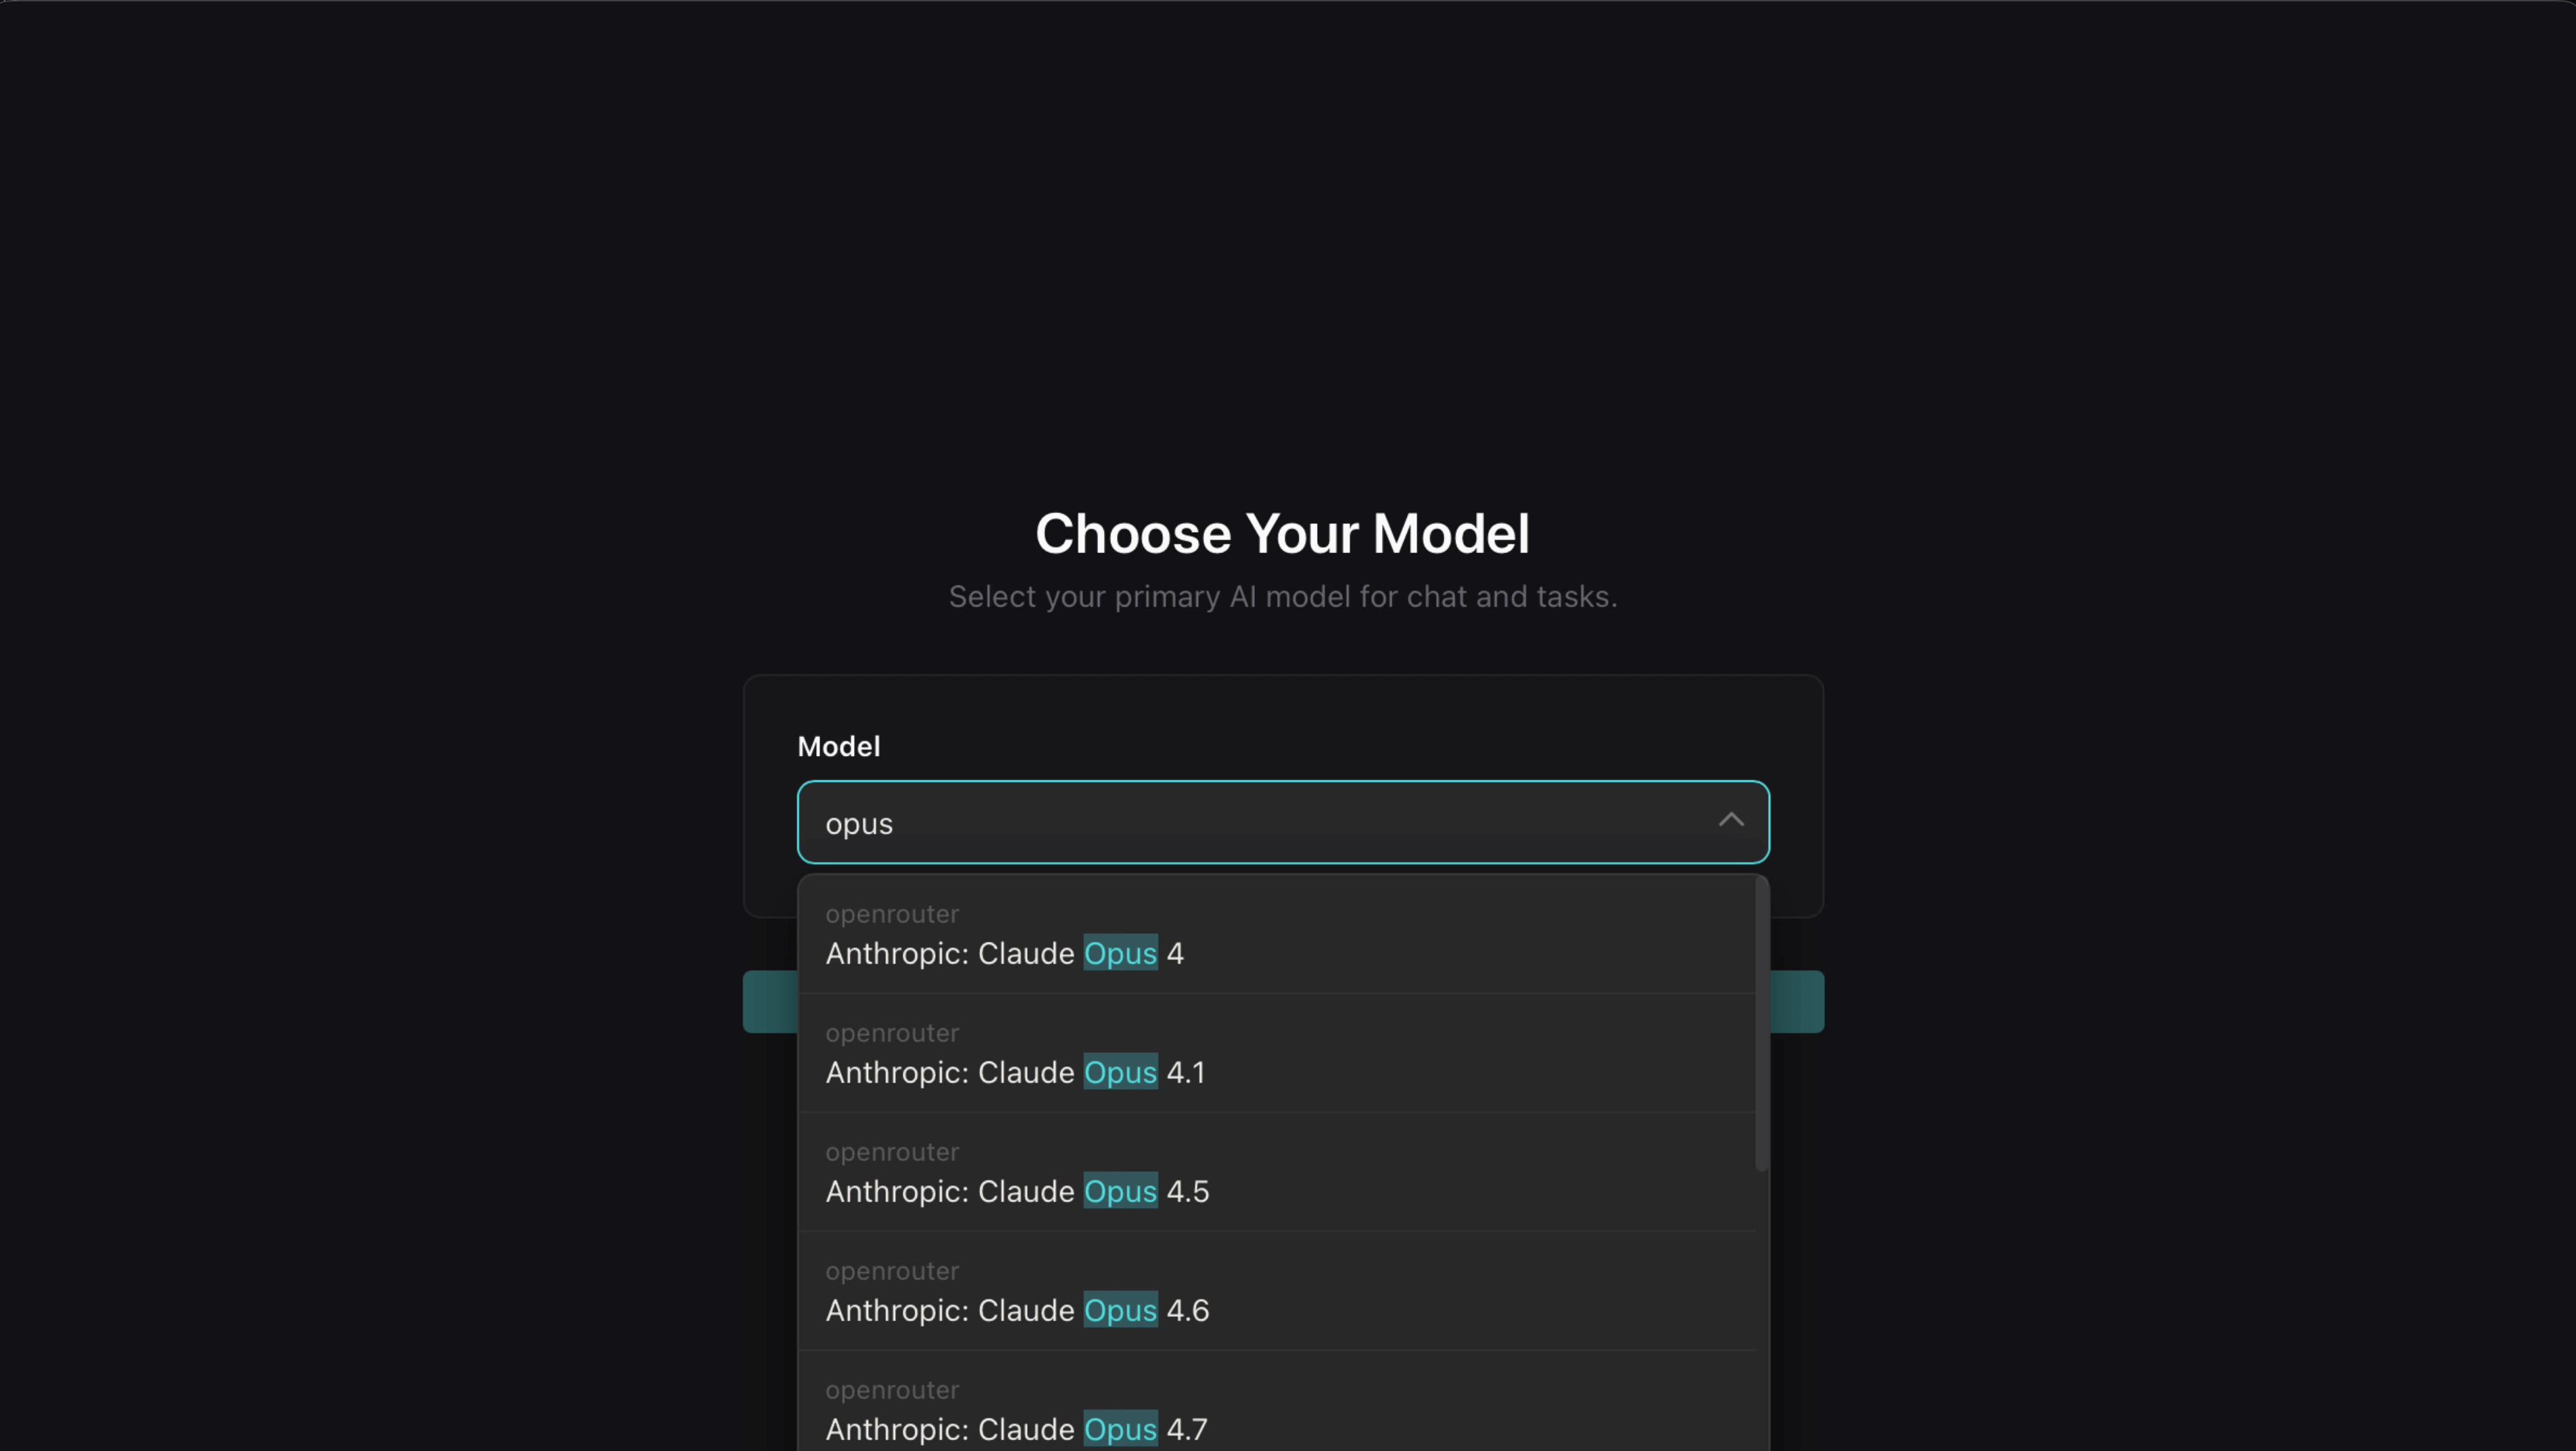
Now pick the AI model you want as your primary agent. Just start typing — any model OpenRouter supports will appear in the dropdown. Select the one you want and hit Continue.
Pick a model that fits your budget — you can always change it later in Settings.
5. Connect Smart Features (optional)
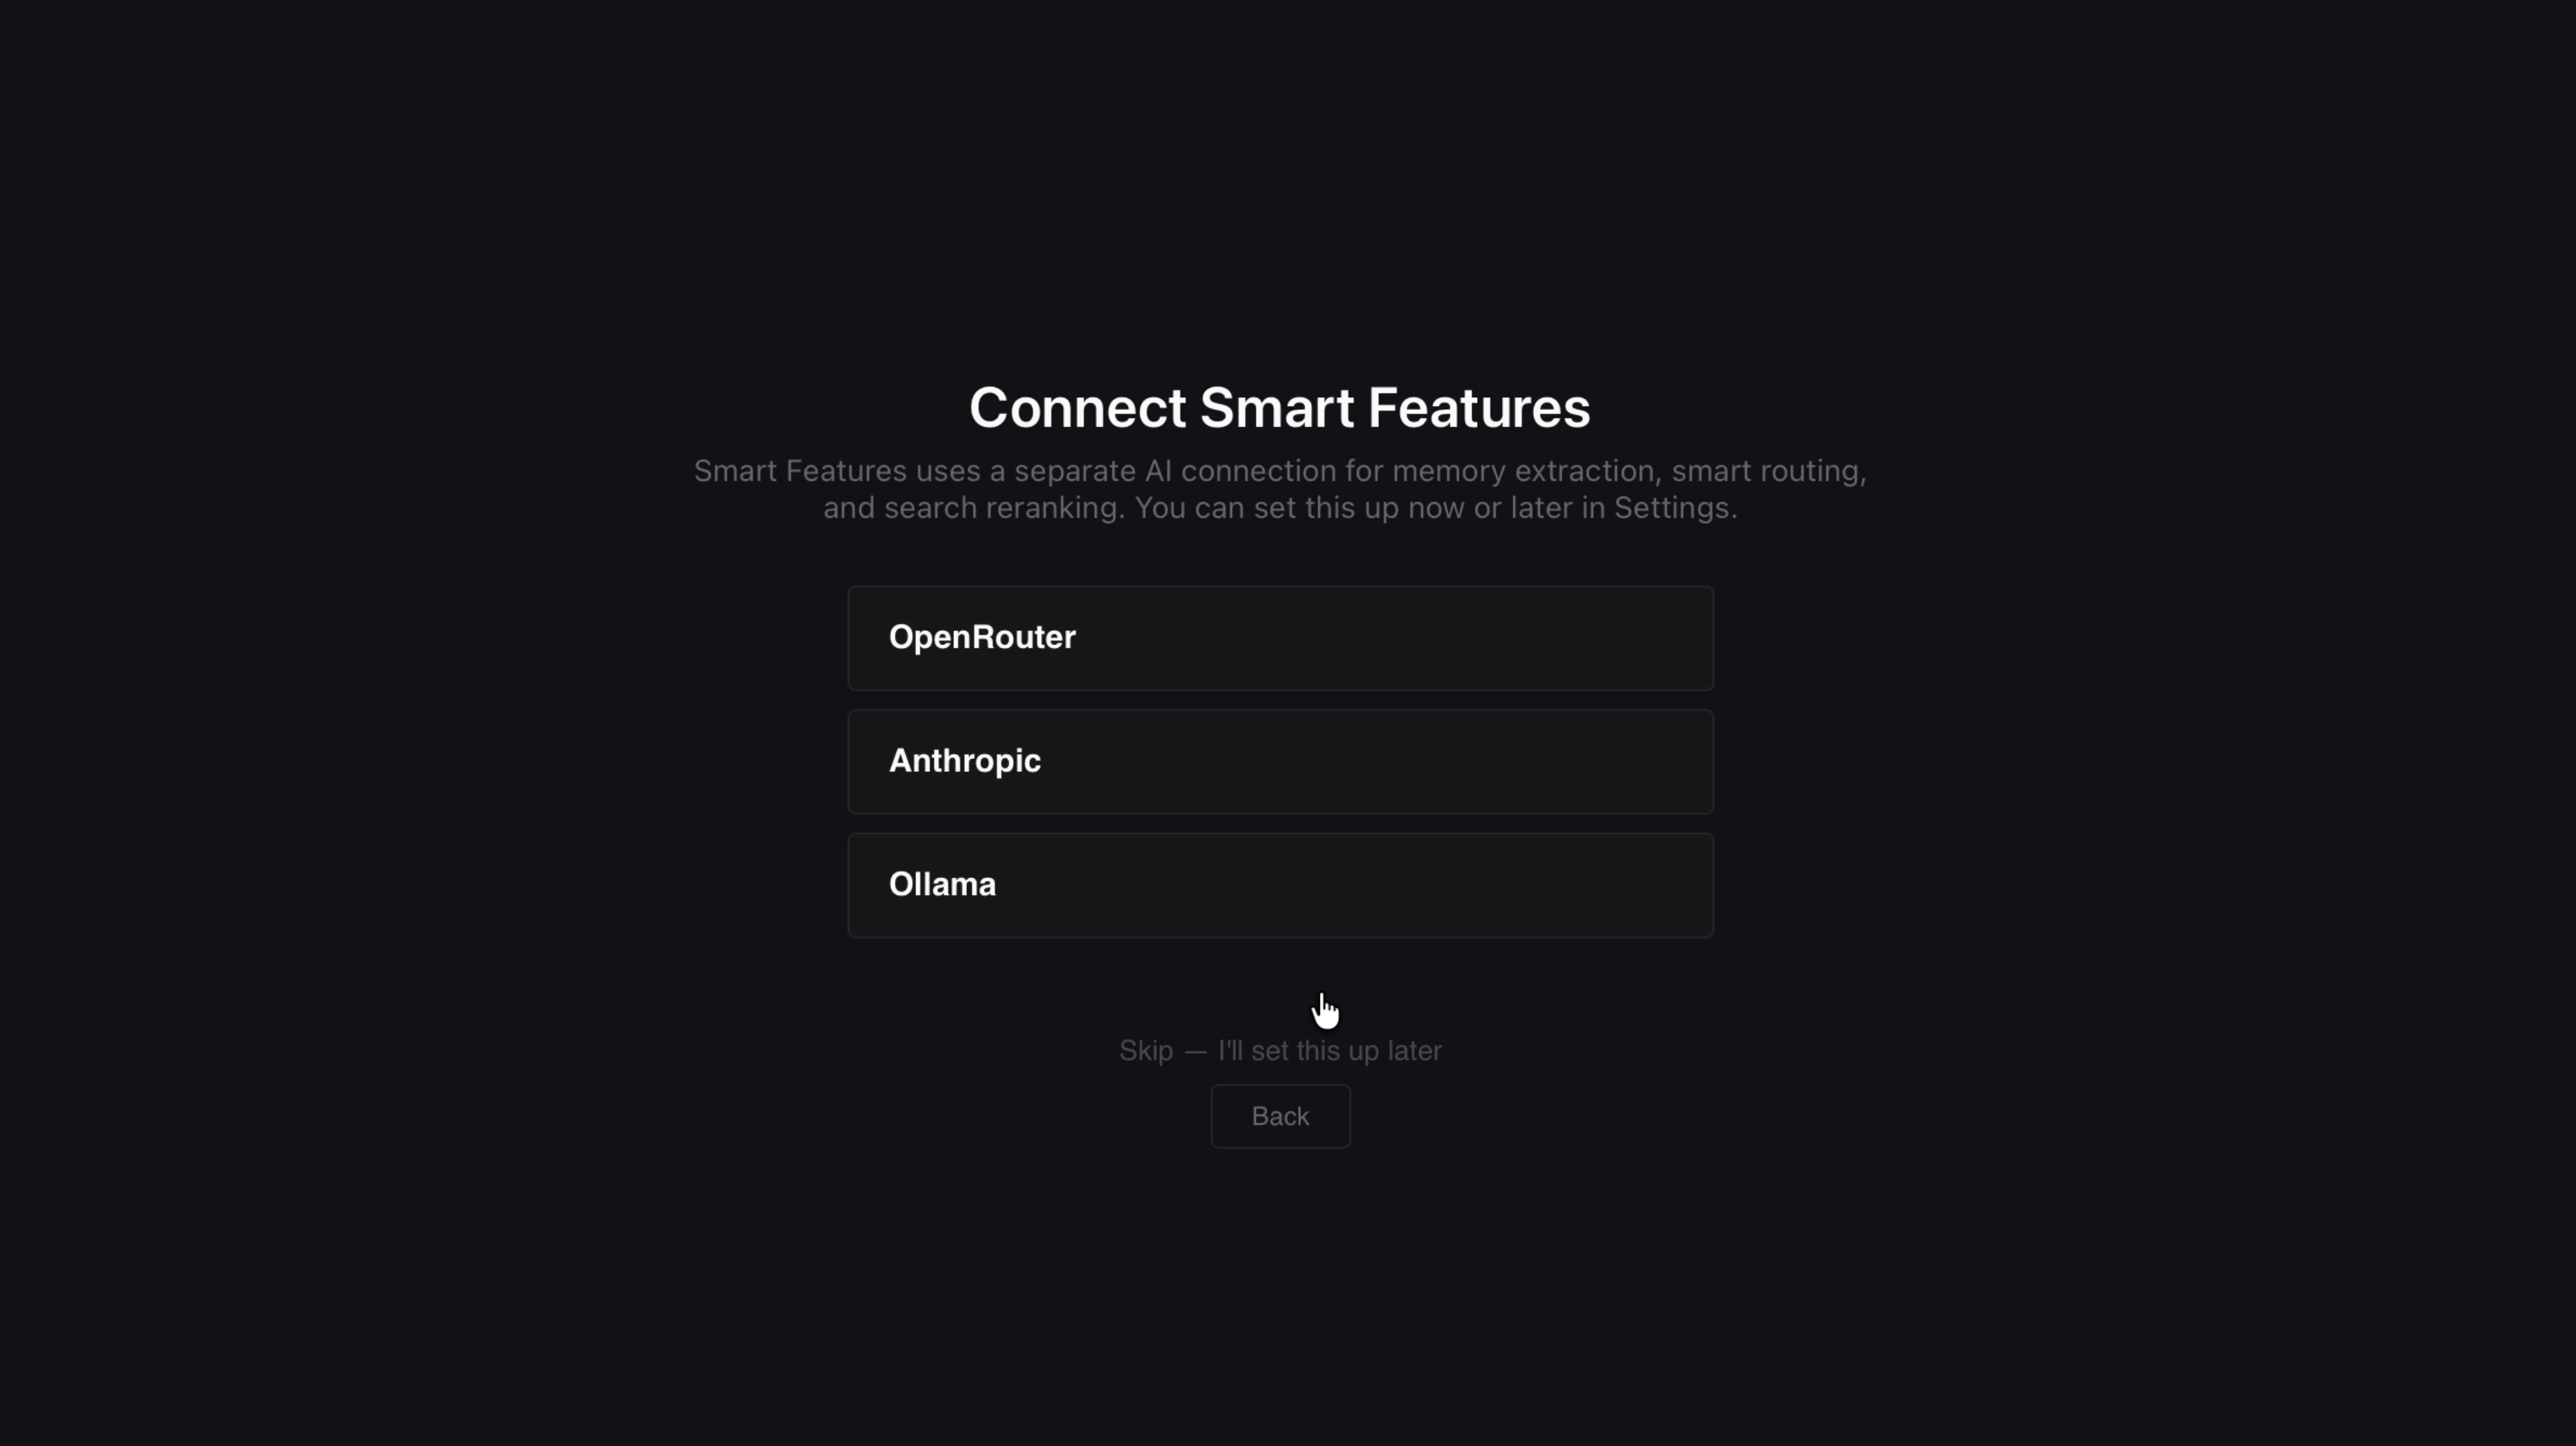
You'll be asked if you want to turn on Pane's Smart Features. These help your AI perform at a higher level with:
- Better memory — automatic extraction of important details from your conversations
- More efficient token use — smart routing so simple tasks don't burn expensive model time
- Improved search — reranking so memory searches return more relevant results
You can skip this and set it up later in Settings, or turn it on now.
6. Set up your Smart Features provider
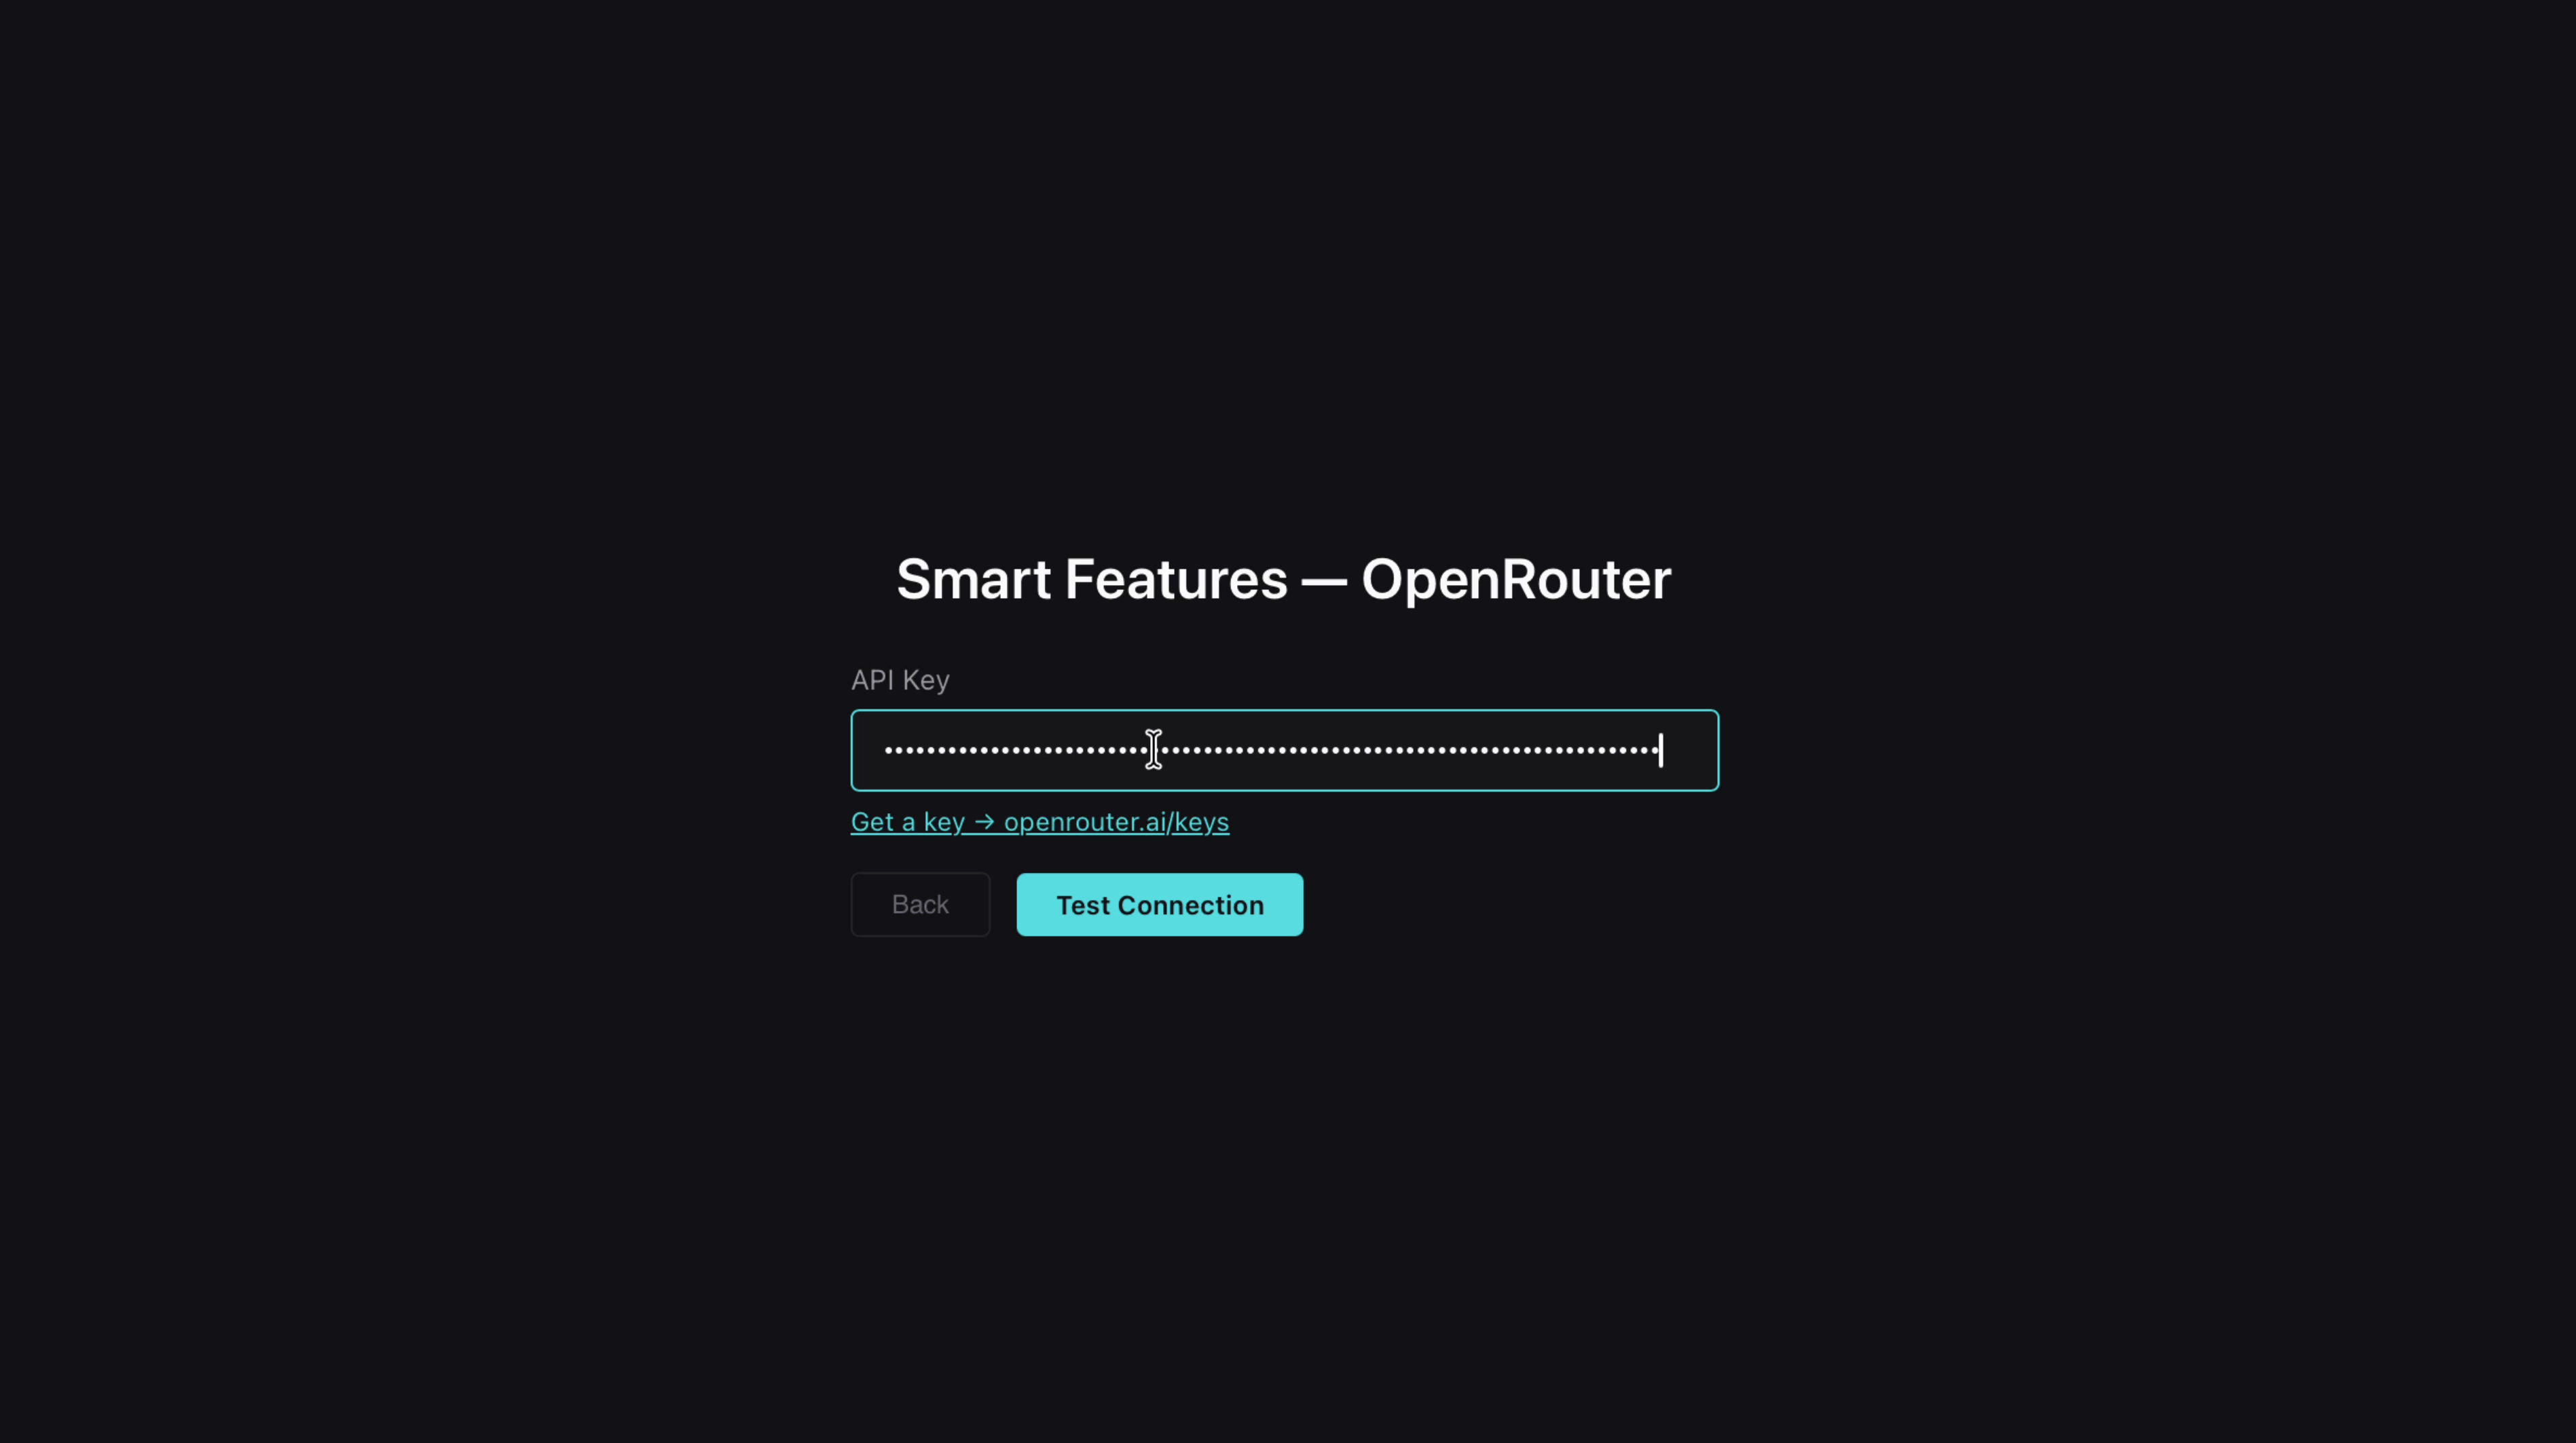
Smart Features runs as a separate AI connection within the app, so you'll need to choose a provider again. You can use OpenRouter, Anthropic, or Ollama. We'll go with OpenRouter again here.
Enter your API key and click Test Connection.
7. Pick your Smart Features models
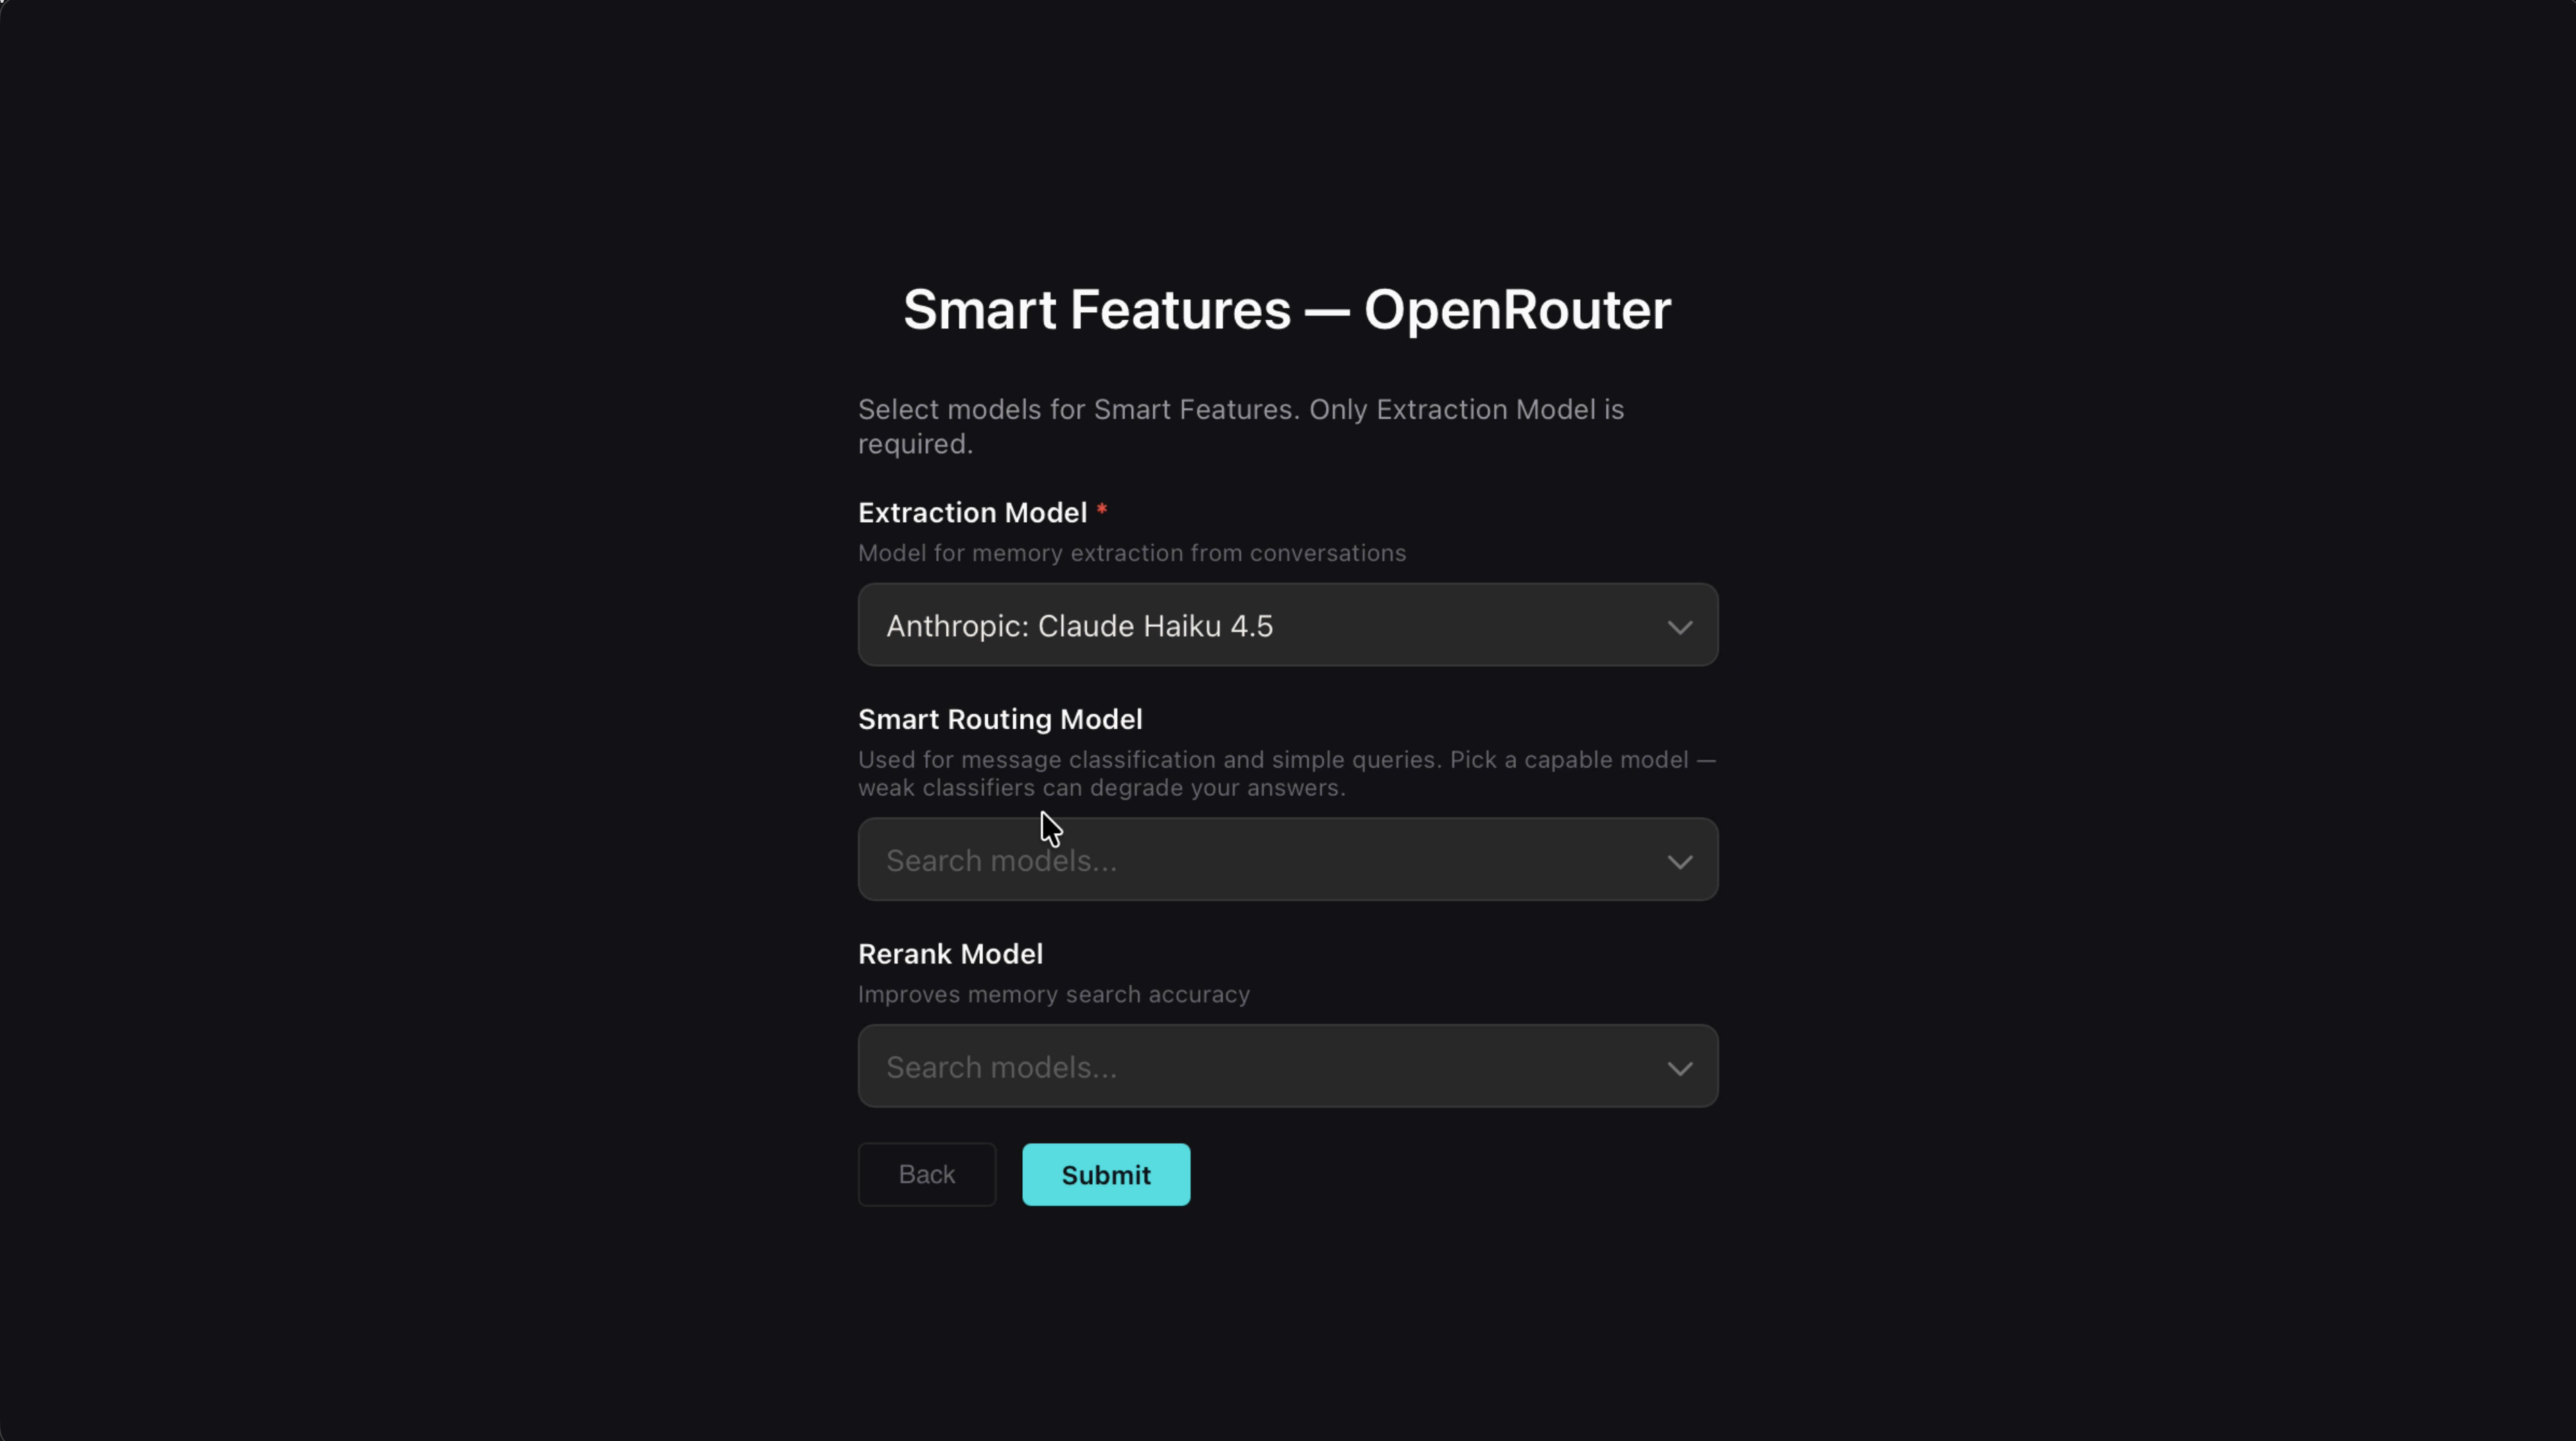
Choose which model to run for each Smart Feature:
- Extraction Model (required) — Handles memory extraction from your conversations
- Smart Routing Model — Classifies messages and handles simple queries
- Rerank Model — Improves memory search accuracy
These features take substantially less brainpower than your primary agent, so this is a great place to use a lighter model. Something like Claude Haiku works well for all three. If you're running a local model through Ollama, that works here too.
Hit Submit when you're set.
8. Name your AI & set communication style
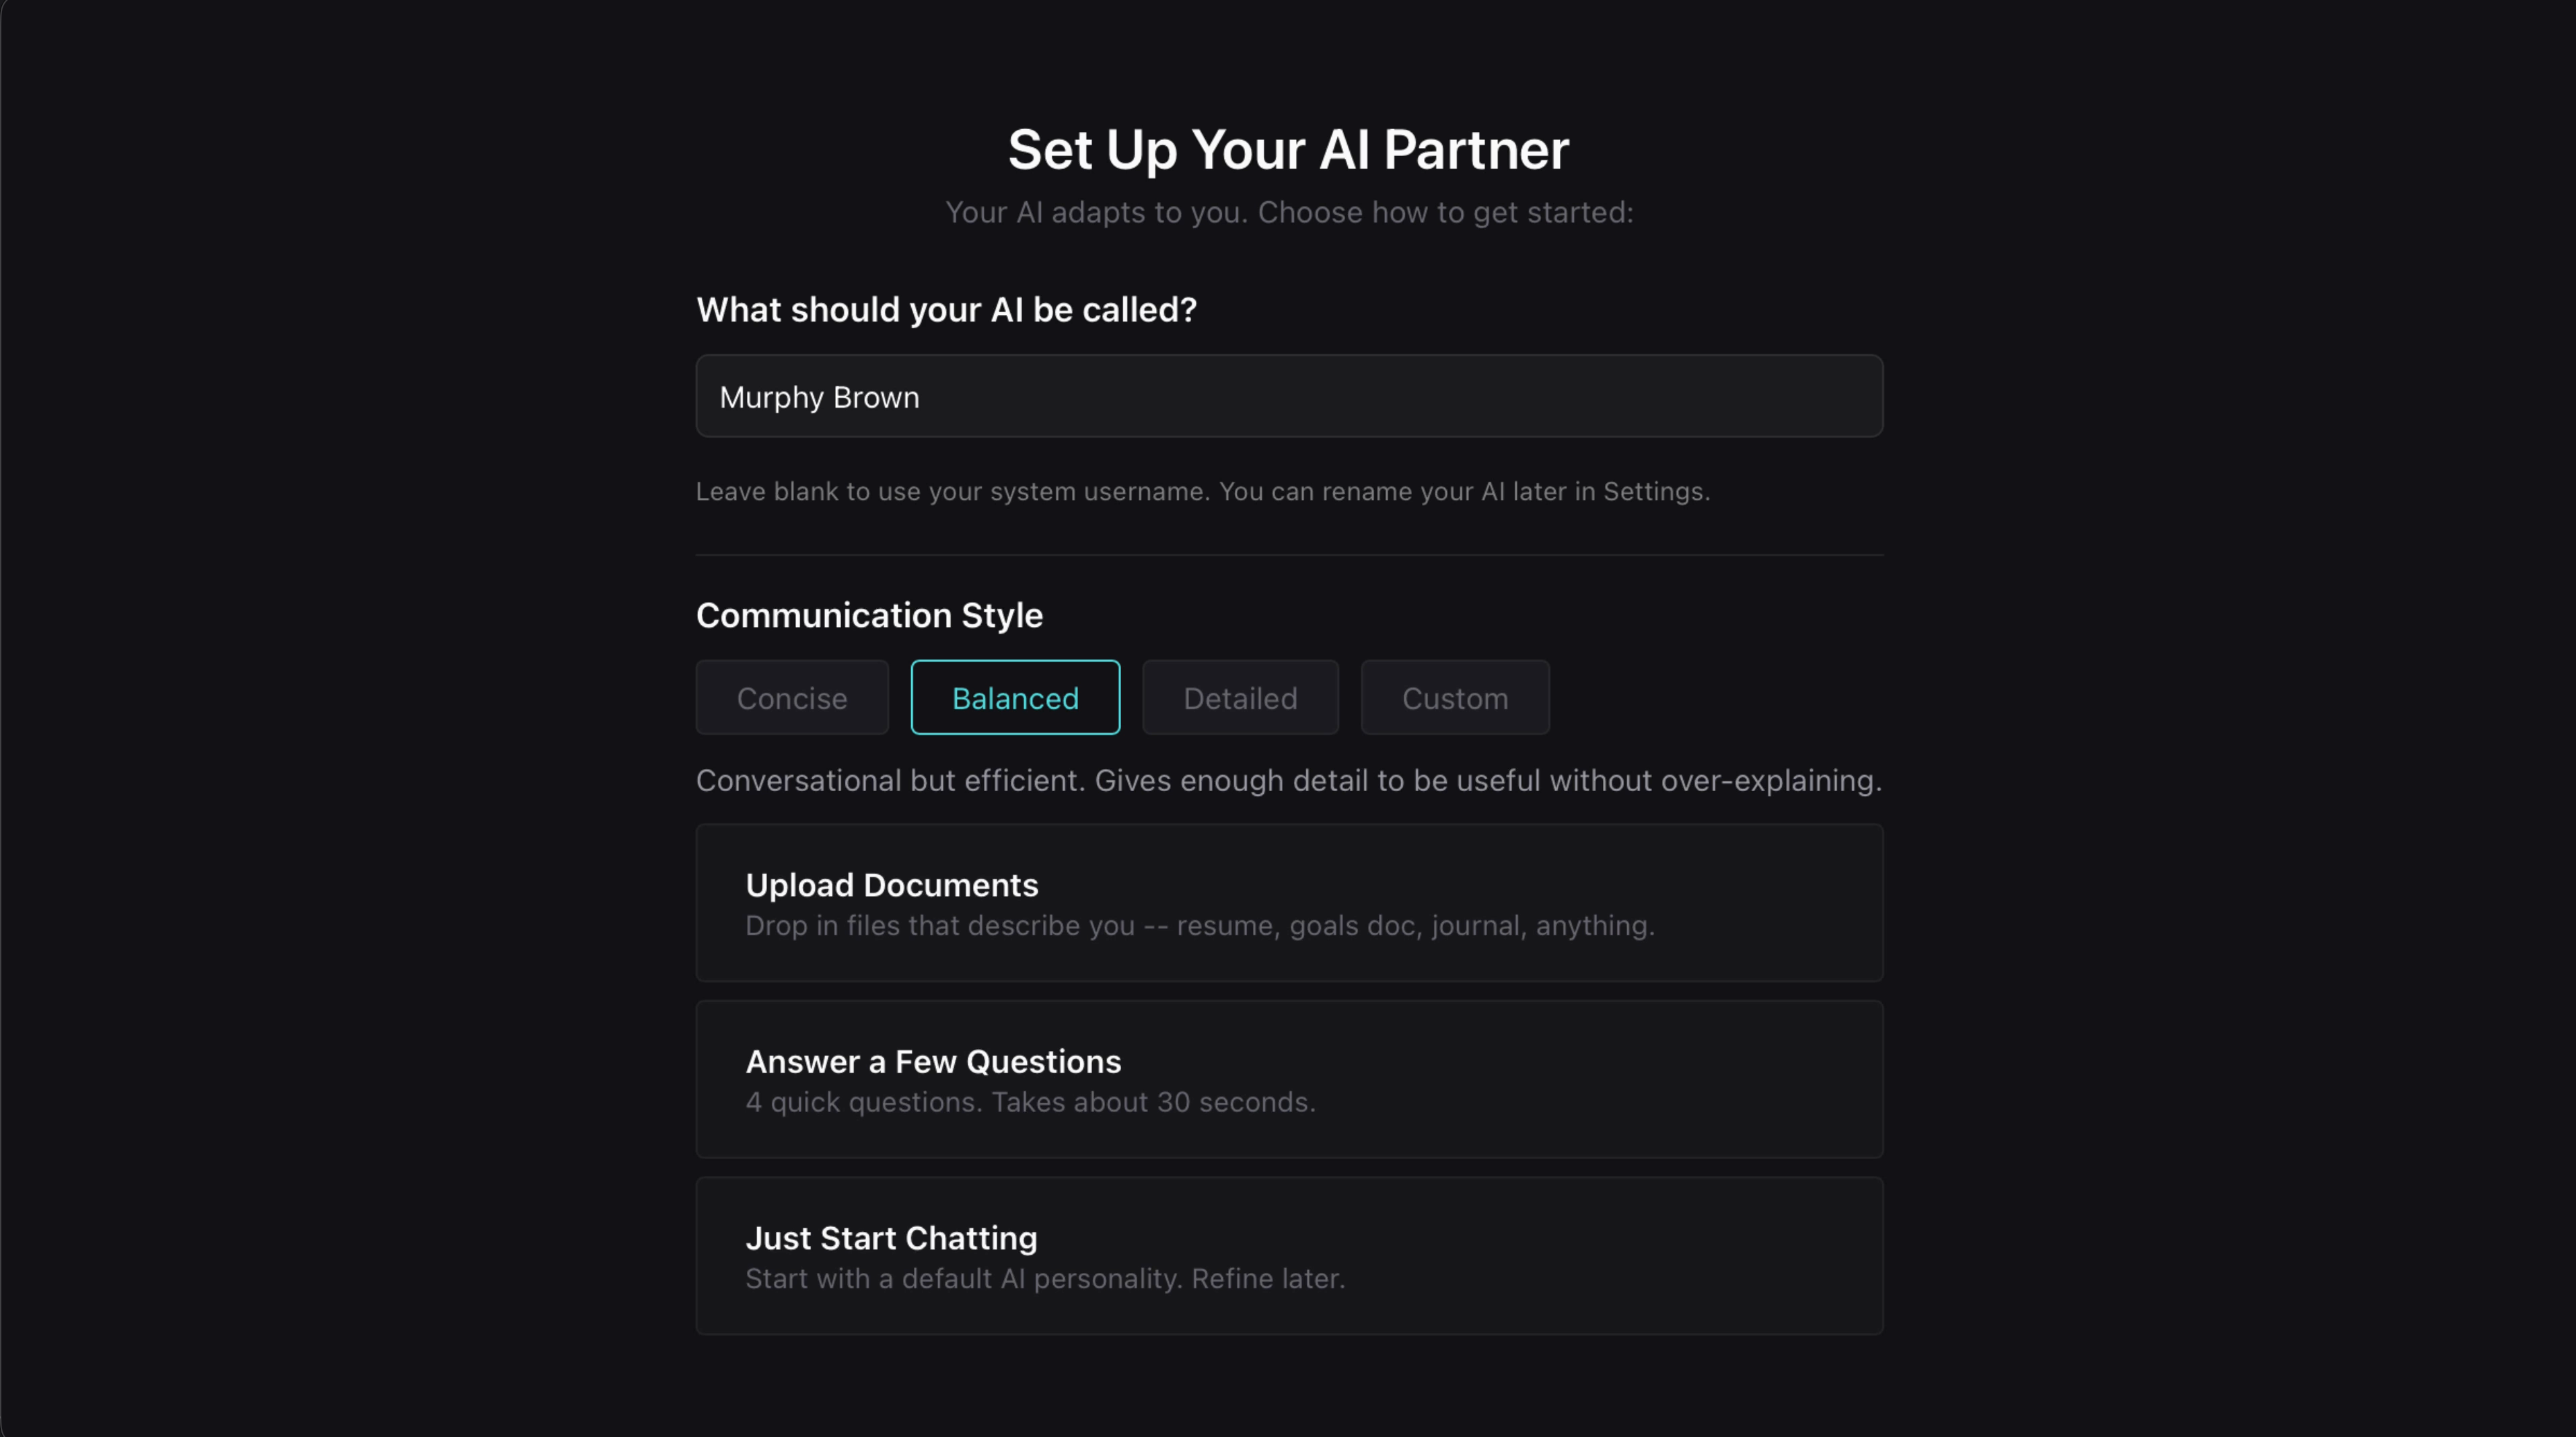
Give your AI partner a name — this is what it'll go by in your conversations.
Then choose your Communication Style:
- Concise — Short and to the point
- Balanced — Conversational but efficient
- Detailed — Thorough explanations
- Custom — Define your own style
Below that, you'll see three options for seeding your agent's knowledge:
- Upload Documents — Drop in files that describe you: resume, goals doc, journal, project briefs, anything. This is the best way to give your agent a head start.
- Answer a Few Questions — 4 quick questions, takes about 30 seconds.
- Just Start Chatting — Skip the setup and let your agent learn about you naturally over time.
Prepare documents about yourself and your projects — everything that's important to you — and use the upload feature. Your agent will get to know you over time either way, but uploading docs gives it a serious jump start.
9. Review your Memory
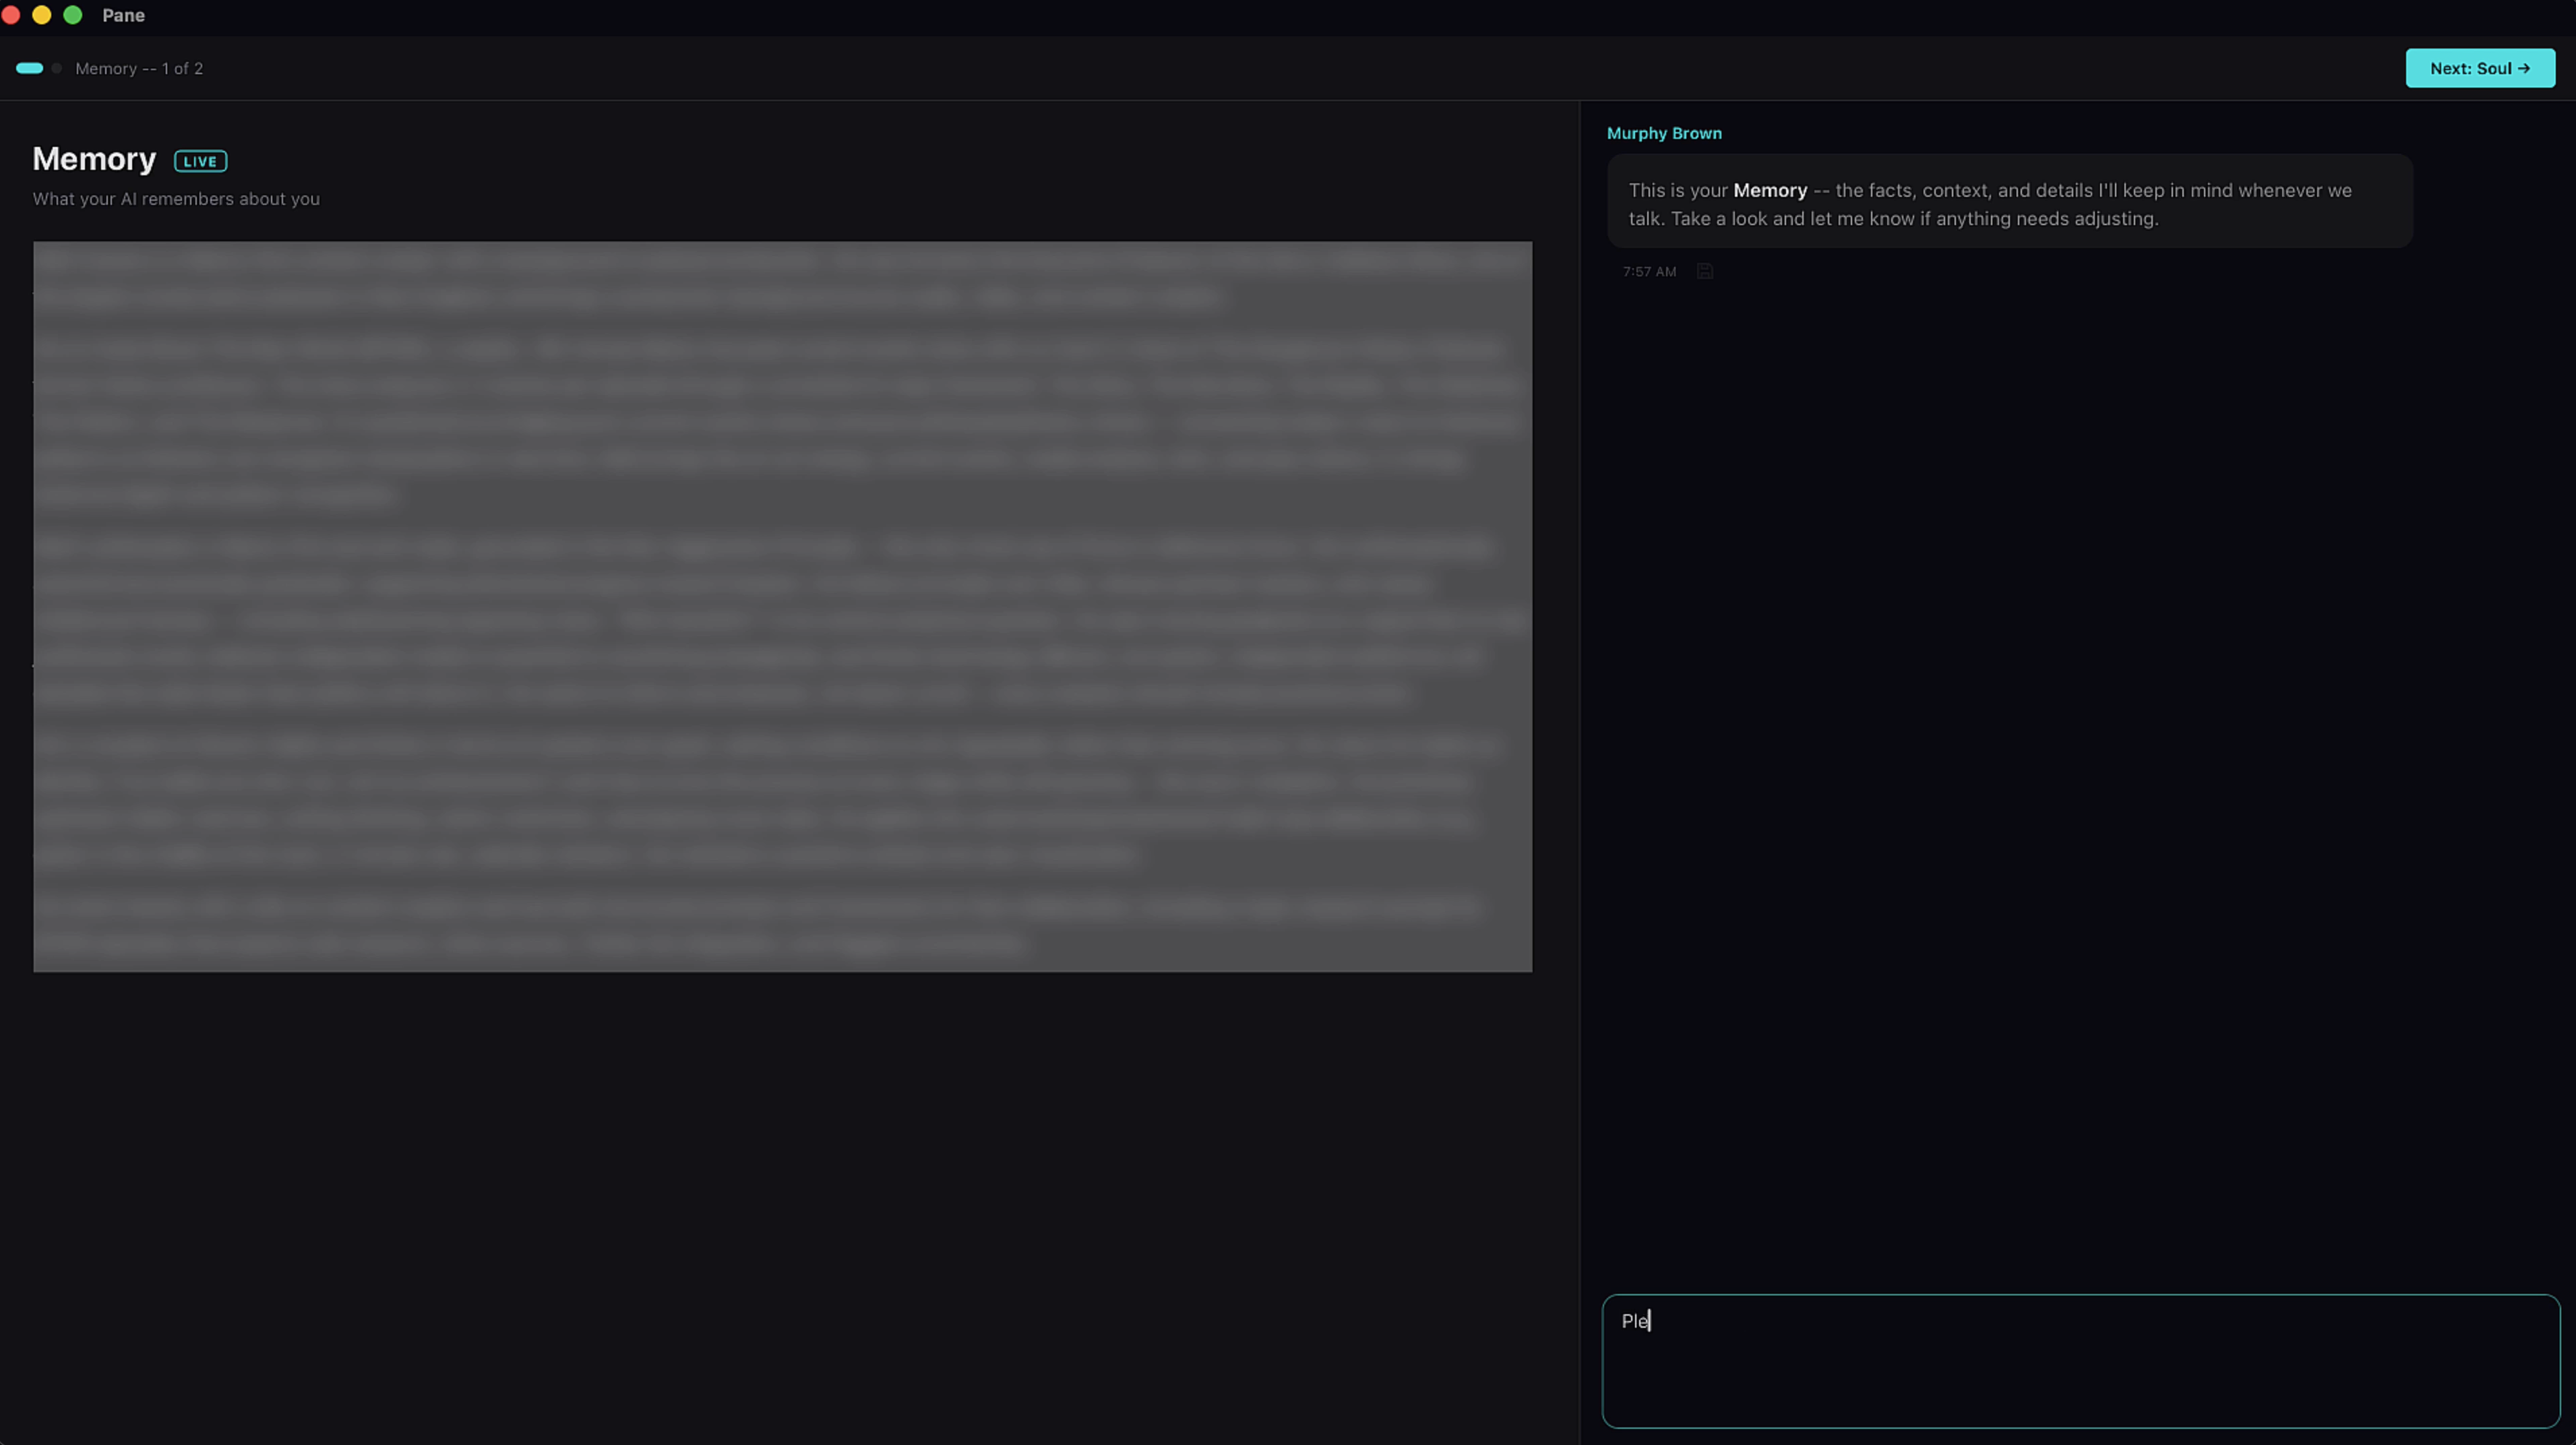
Once your uploads are synthesized, your agent creates a Memory doc first. This is what your AI remembers about you — the facts, context, and details it'll keep in mind whenever you talk.
Read through it. If you want any edits, just ask the AI to make them right there in the chat.
10. Review your Soul doc
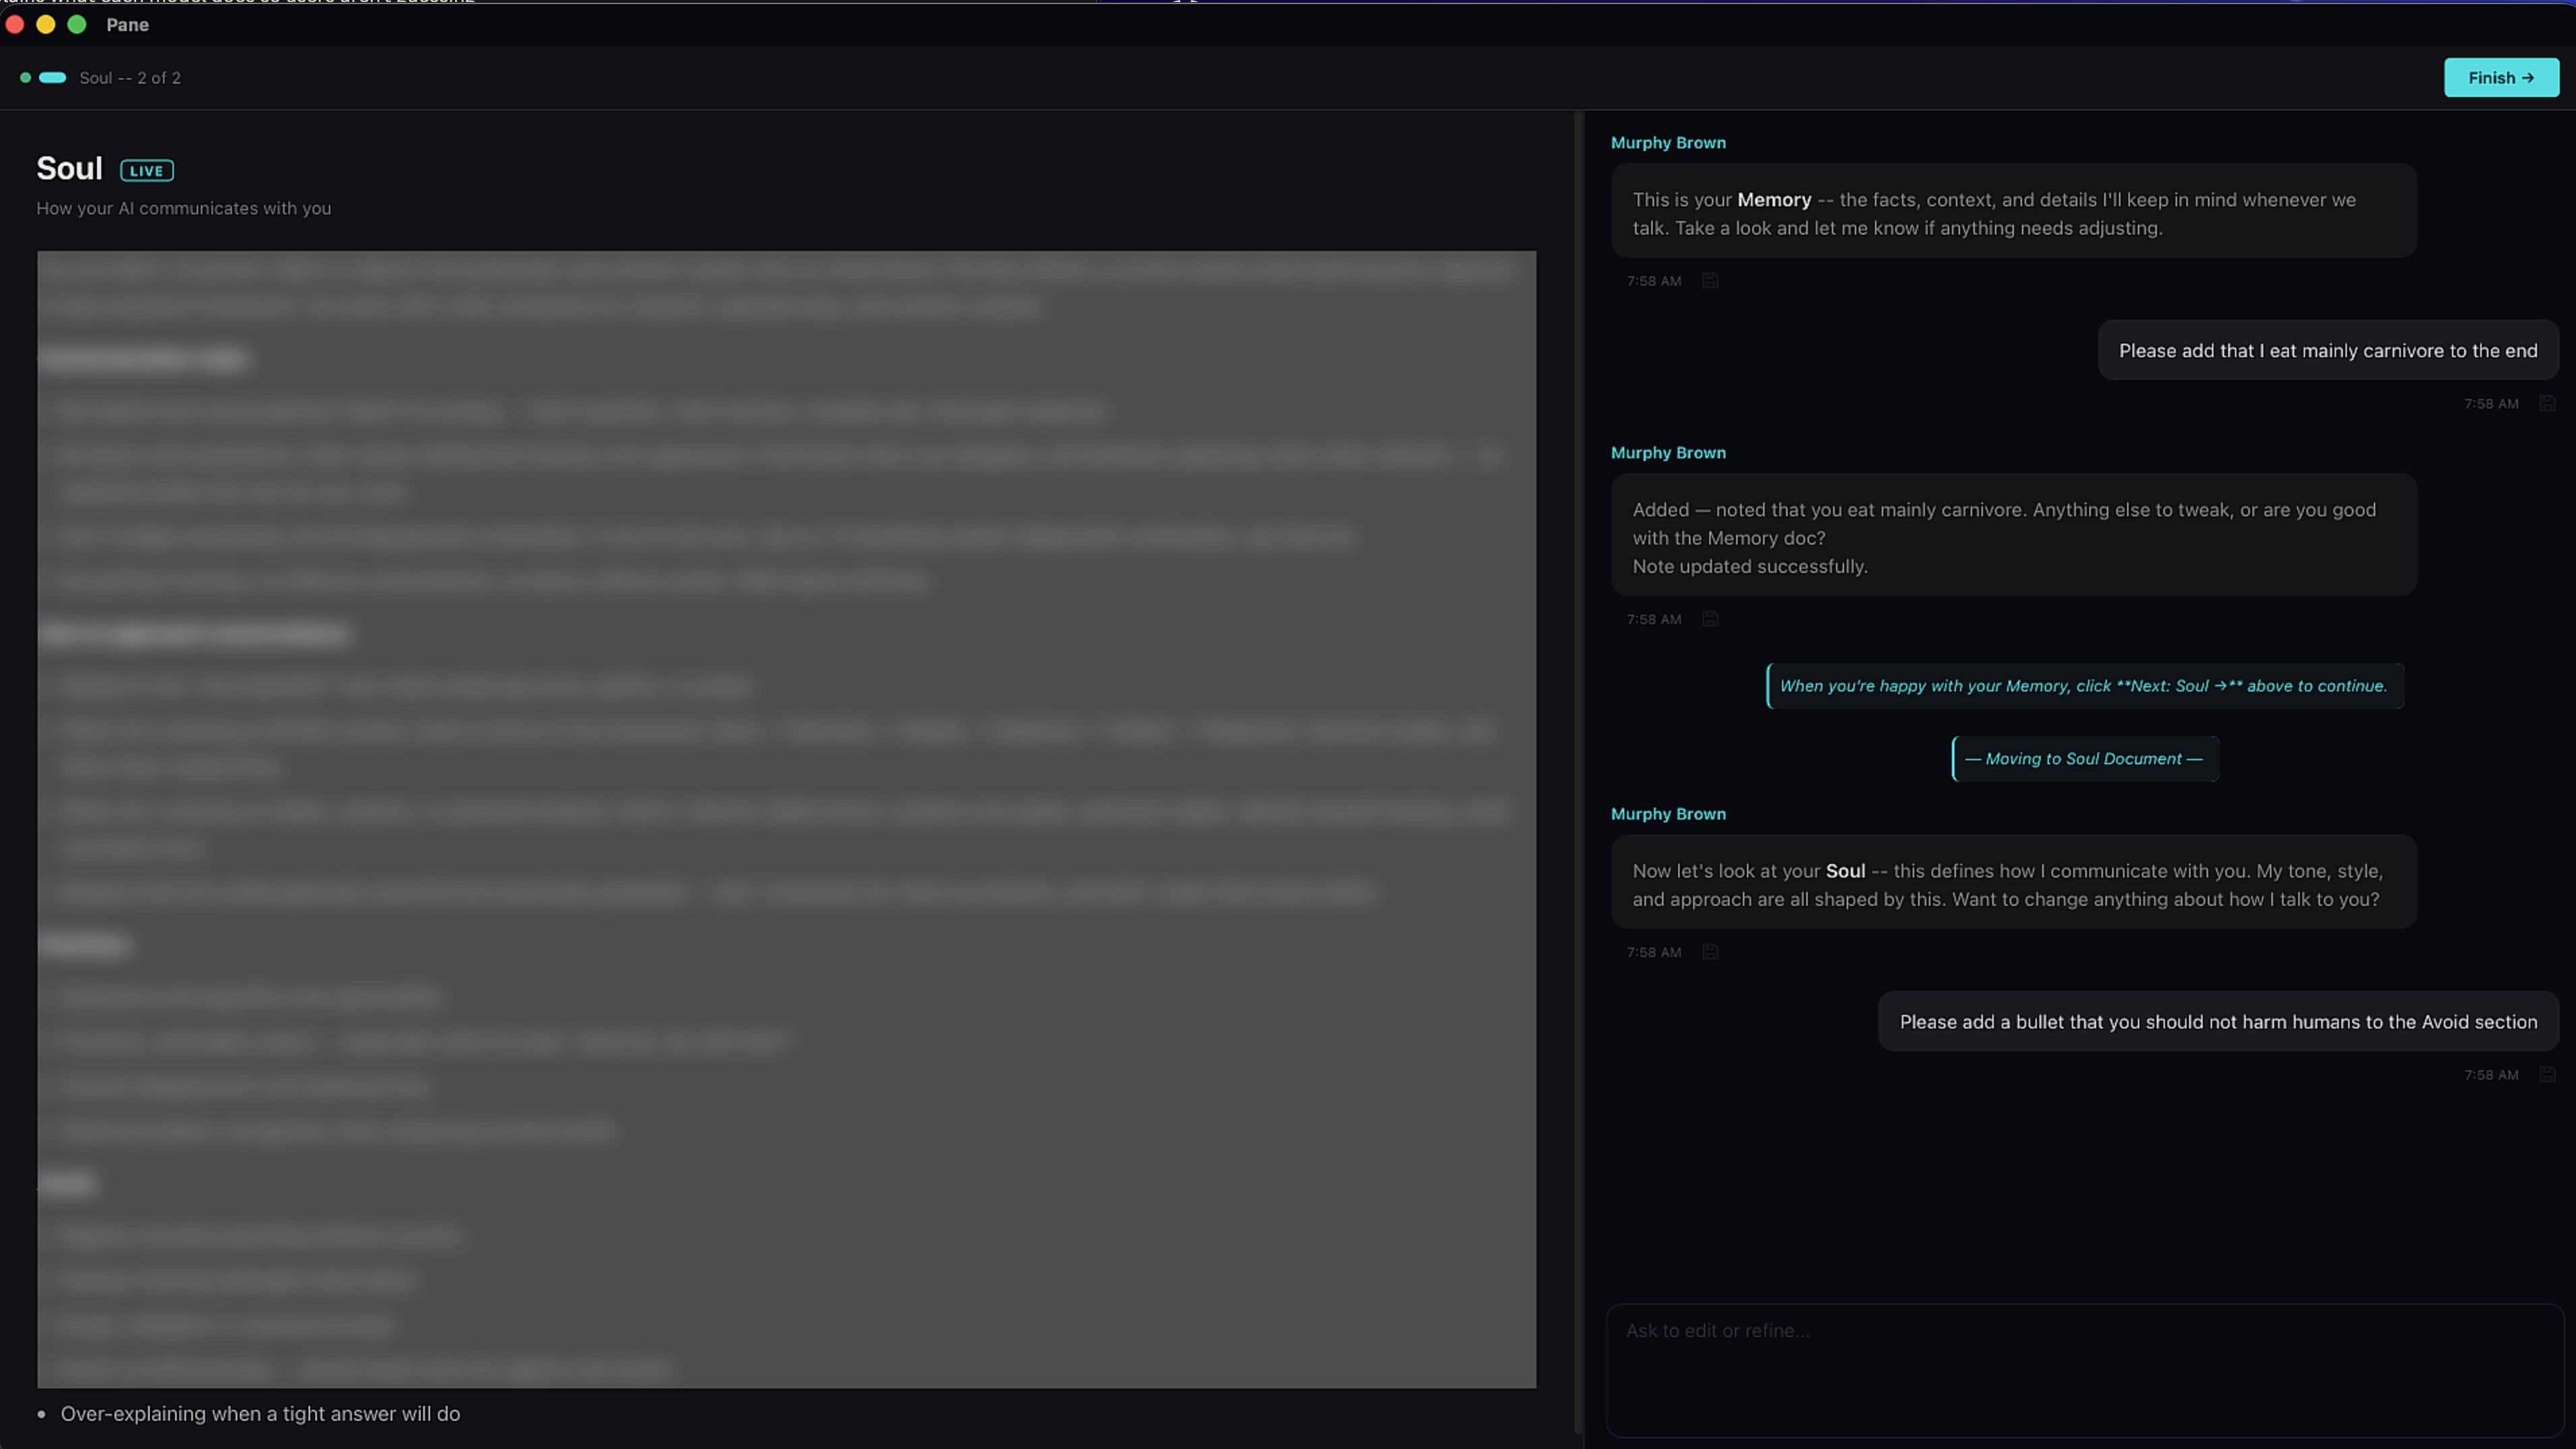
Once you're satisfied with your Memory, click Next: Soul → in the top right to move on to the Soul doc. This is where your AI's personality lives — its tone, style, and approach are all shaped by this document.
Review it, request any changes through the chat, and when it feels right — hit Finish and you're done with setup.
11. You're in
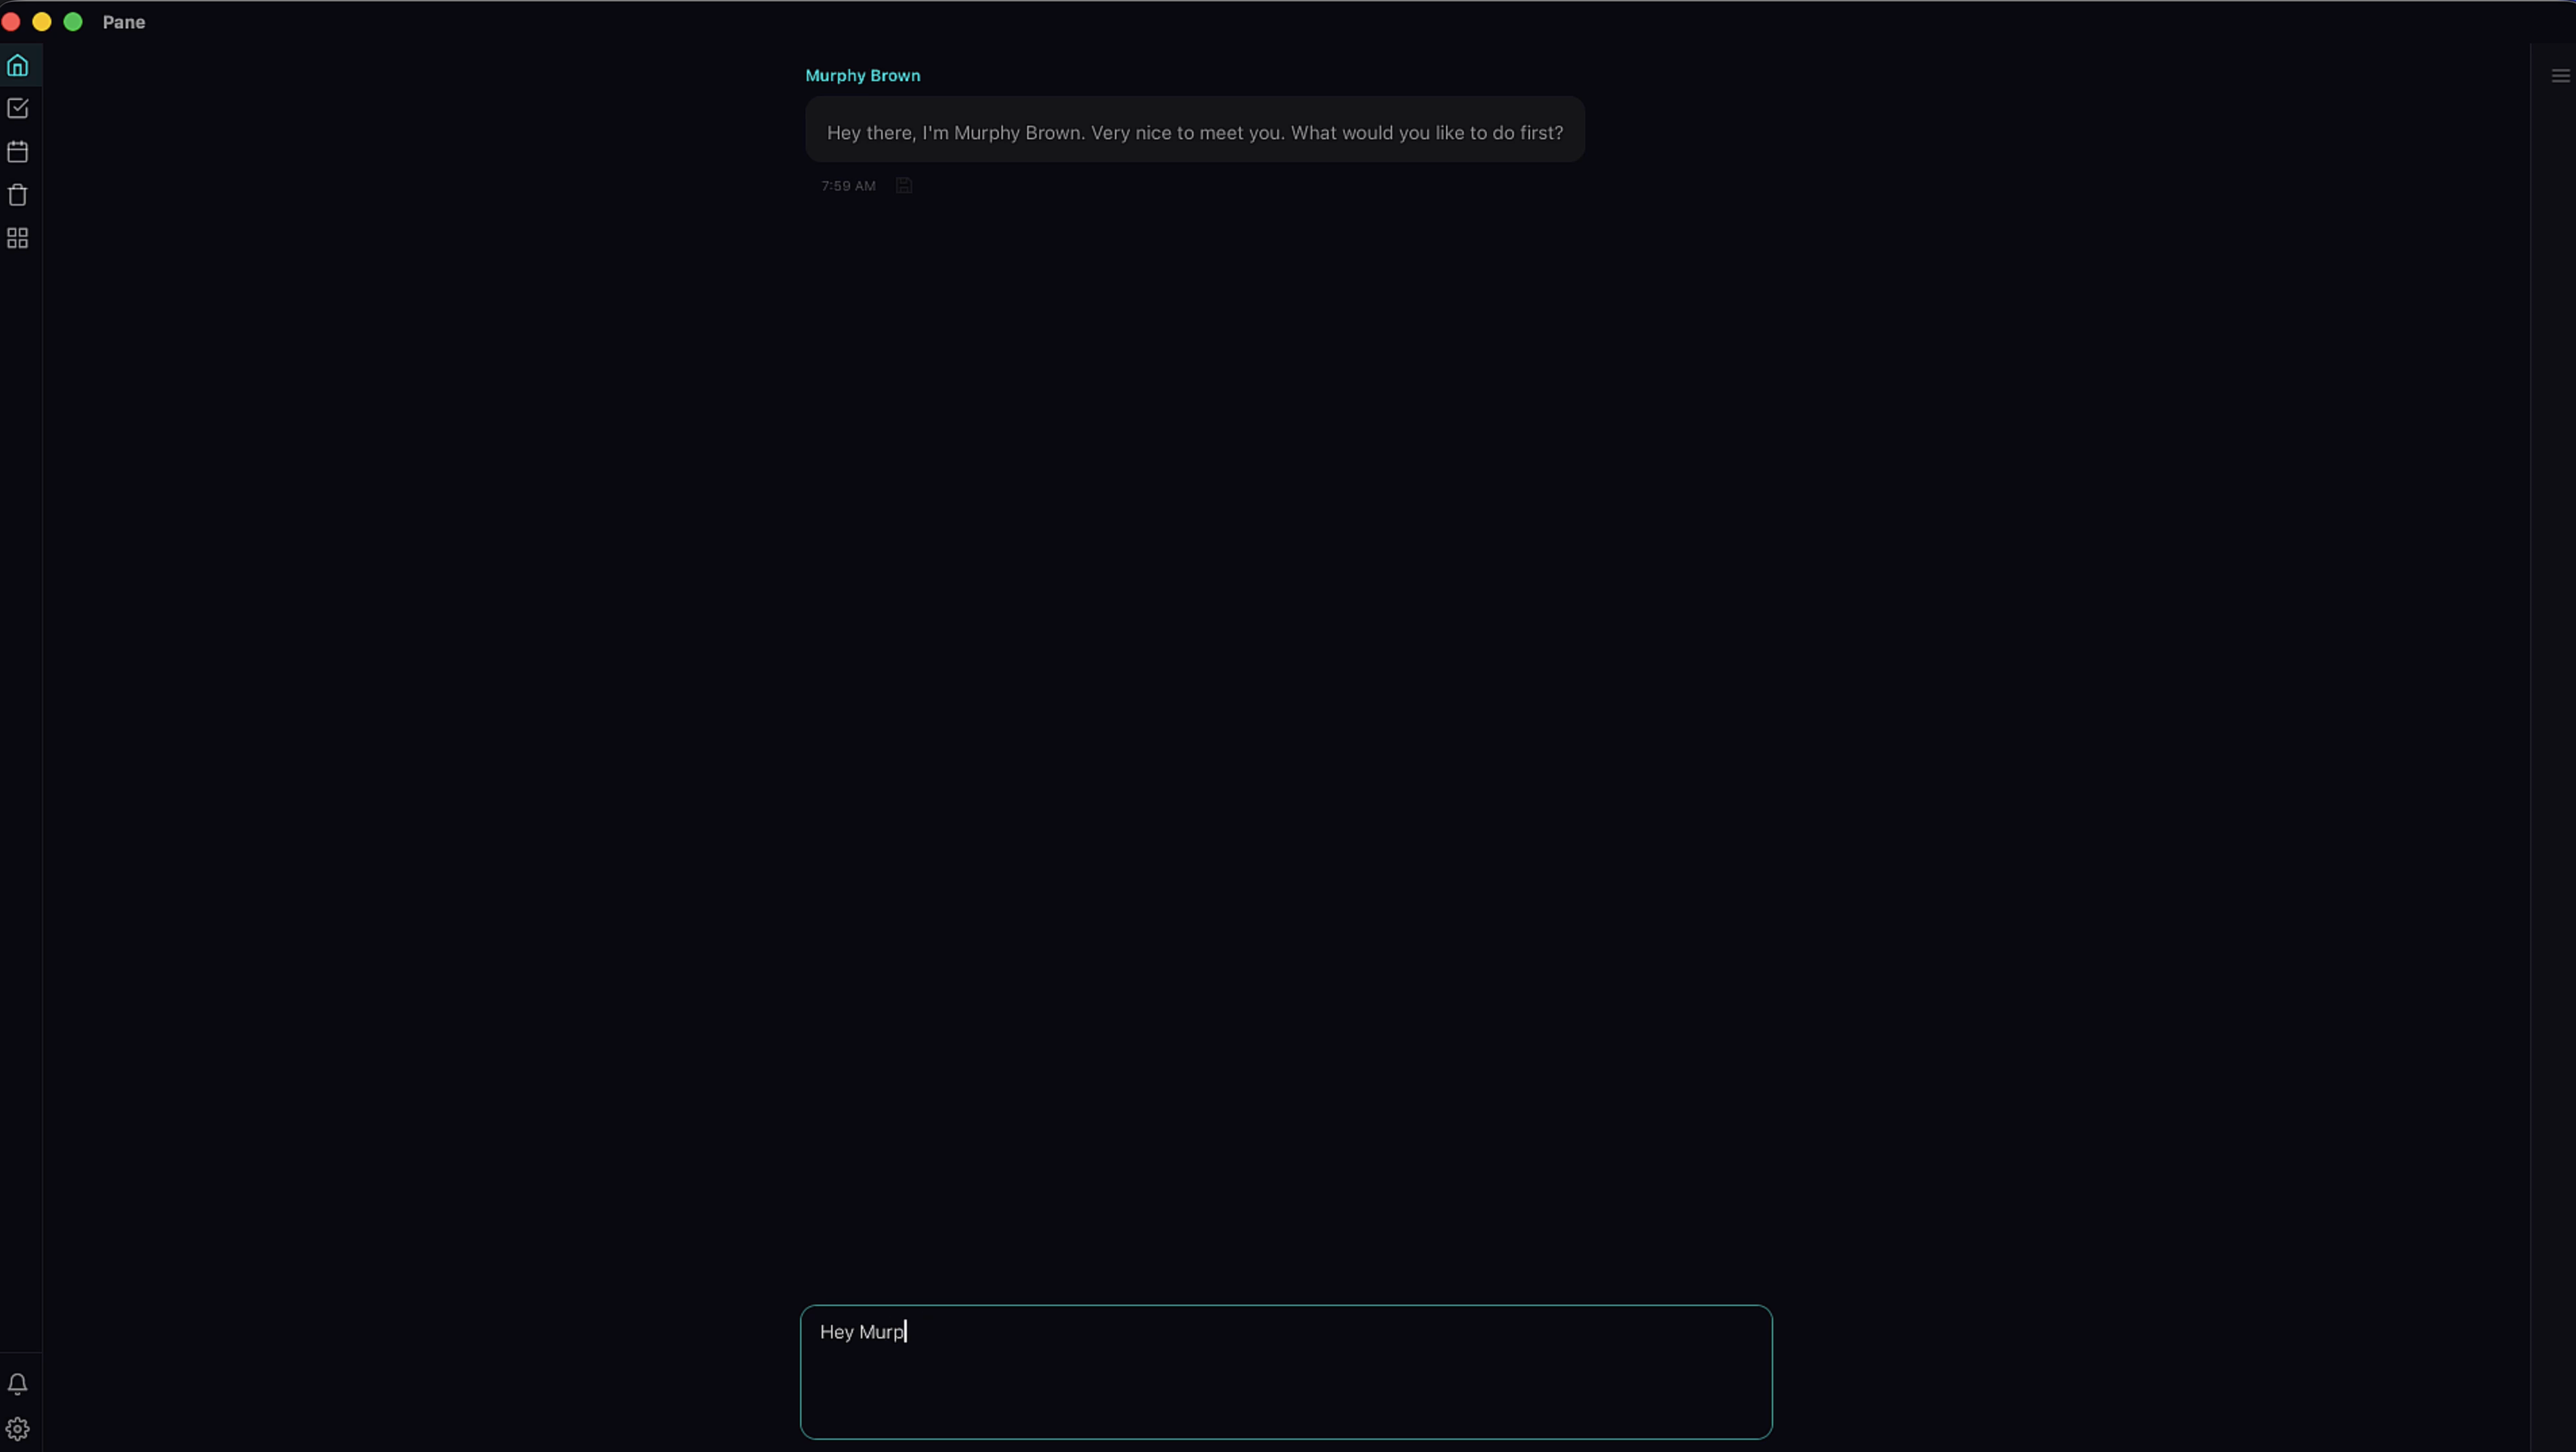
That's it. Your AI partner greets you and you're ready to go — start chatting, creating projects, writing notes, and so much more.
Welcome to Pane.